Butternut Squash Enchiladas

When hosting friends and family for dinner, at times it’s hard remember who is plant based, who is vegetarian, and who loves meat and potatoes! With butternut squash being so hardy and versatile, these Enchiladas seem to please everyone.

BUTTERNUT SQUASH BLACK BEAN ENCHILADAS

Serves: 8

Prep Time: 20 minutes

Cook time: 55 minutes

Ingredients (enchiladas):

  • 3 cups butternut squash -  cubed

  • 1 Tbsp avocado oil or coconut oil

  • 1/4 tsp sea salt and black pepper - divided

  • 1 15-ounce can black beans - slightly drained

  • 1/2 tsp ground cumin - divided

  • 7-9 white or yellow corn tortillas

Ingredients (sauce):

  • 1 Tbsp avocado oil or coconut oil

  • 3 cloves garlic minced (3 cloves yield ~1 1/2 Tbsp)

  • 1 (15-ounce) can tomato sauce

  • 1 chipotle pepper in adobo sauce (plus additional pepper or adobo sauce for more heat)

  • 1/2 cup water (or sub vegetable broth for more Flavor, DIY or store-bought)

  • Sea salt and black pepper (to taste)

  • 1-2 Tbsp coconut sugar (or sub maple syrup)

Toppings (optional):

  • Red onion - diced

  • Ripe avocado - sliced

  • Fresh cilantro - chopped

  • Toasted pumpkin seeds

Instructions:

  1. Preheat oven to 400 degrees F (204 C) and position a rack in the middle of the oven.

  2. Add cubed butternut squash to a baking sheet and drizzle with oil and a pinch each salt and pepper. Toss to combine.

  3. Bake for 15-20 minutes, or until all squash is fork tender. Set aside to cool. Also reduce oven heat to 350 degrees F (176 C).

  4. In the meantime, prepare sauce. Heat large skillet over medium heat. Once hot, add oil and garlic. Cook, stirring frequently, until soft and slightly browned and translucent - about 4-5 minutes.

  5. Remove pan from heat and add tomato sauce, diced chipotle pepper, more adobo sauce (if desired, for more heat), and water (or vegetable broth). Reduce heat to low and return pan to heat. Simmer for 5 minutes, covered (to prevent splattering).

  6. Transfer sauce to a blender and blend well for a completely smooth sauce. Taste and adjust seasonings as needed, adding more adobo sauce for heat, salt for savoriness, or coconut sugar for sweetness. Set aside.

  7. Place same skillet used earlier back over medium heat and add black beans. Season with a little salt, pepper, cumin and stir.

  8. Once bubbling, remove from heat and add roasted butternut squash and 1/4 cup (amount as original recipe is written, adjust if altering batch size) of the enchilada sauce (see photo). Stir to coat. Taste and adjust seasonings as needed. Set aside.

  9. Wrap tortillas in damp paper or cloth towel and microwave to warm for 30 seconds to make more pliable. (Alternatively, place tortillas directly on oven rack for 1 minute to heat through.)

  10. Pour a bit of sauce into the bottom of 9×13-inch (3 quart or similar shaped) baking dish. Spread to coat.

  11. Take one corn tortilla and lay it down in the dish. Fill with generous amount of squash-bean Filling (there should to be plenty for 7-9 tortillas). Then roll up tortilla.

  12. Place seam side down at one end of dish. Continue until all tortillas are Filled and wrapped. Then pour remaining sauce over the top of the enchiladas in a stripe down the middle. Use a spoon to distribute the sauce into the cracks. Then brush/spray the edges of the bare tortillas with oil for crispy edges (optional).

  13. Bake at 350 degrees F for 15-20 minutes, or until warmed through. Top with desired toppings and serve. I love fresh lime juice, red onion, avocado, and cilantro, but these enchiladas are delicious on their own!

  14. Leftovers will keep covered in the refrigerator for up to 3 days, though best when fresh. Reheat in a 350-degree F (176 C) oven for 15-20 minutes or until warmed through.

Recipe Notes:

Note 1: The best way to cube butternut squash is to start with a large, very sharp knife, cutting off the top and bottom ends. Then cut in half where the small, cylinder shape and round, bulb-shape meet. Use knife to carefully remove skin. Then remove any seeds with spoon or ice cream scoop. Cut into small cubes and proceed with recipe as directed.
Note 2: Nutrition information is a rough estimate calculated without additional toppings.
Note 3: Recipe inspired by the spaghetti squash tacos in the Smitten Kitchen Cookbook.
Note 4: Enchiladas can be frozen individually up to 1 month.

Source: Minimalist Baker
2018 Farm to Table Memberships

If you can’t know your farmer, you should know the person who knows them.
— Hayes


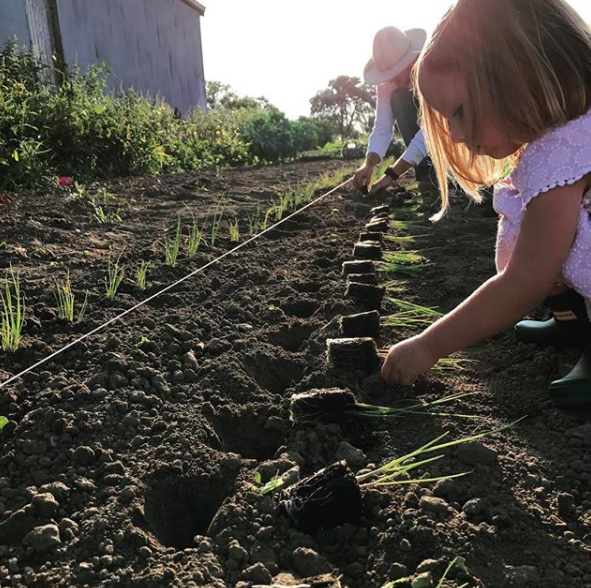
Over the past few months we've been planning for the 2018 growing season. We are incredibly excited for what this year will hold, particularly because we will be able to expand in ways we've long dreamt about.
 

As you may know, in 2017 we offered memberships to a small handful of friends and family. The primary intention here was for us to gain experience in the farming process end to end, from seeding to transplanting, weeding, harvesting, packing and delivery. We are grateful to those who participated in this aspect, provided feedback, and helped set the stage for future growing seasons. 


Three big takeaways from last year centered around expansion (feeding more families), maintaining shelf life (better understanding what produce requires special harvest and post-harvest handling), and interest in additional products (grass-fed beef). Our aim is to provide produce and meats that you are familiar with and prepare often, while nourishing your family in the deepest way possible.


We plan to address the takeaways from 2017 in the following ways:


Over the next 12 months we will continue developing infrastructure (green house, hoop house, tractor, pole barn) for Field and Farm Co, which will allow us to produce at a higher volume. In the meantime, we have decided to partner with our mentors, Janet Gamble and Steve Tomlins, to supply approximately 10% of the produce share as a means to continue providing crops that require special care. Steve and Janet have been growing for 15+ years and their farm, Turtle Creek Gardens, is regarded as one of the best certified organic farms in the Midwest. 


The interest in grass-fed beef has been both thrilling and substantial. As we work to establish a herd of our own, we have partnered with neighbors and dear friends, Jeb and Janell McMahon, who run Lowline Prairie of Wisconsin. In doing so we will be able to provide our members with grass-fed and grass-Finished beef, raised on open pasture without any growth hormones. This family farm has the gold standard in terms of how they treat their lowline Angus and how the meat is processed locally in New Glarus.


There is a saying that goes, "If you can't know your farmer, you should know the person who knows them." In a world where much of the food readily available is highly processed and wreaking havoc on our bodies, we hold these types of relationships (both with other farmers and with you, our community) in high regard.


If you are interested in the food we are working to produce and supply, our Farm to Table Memberships work as such:


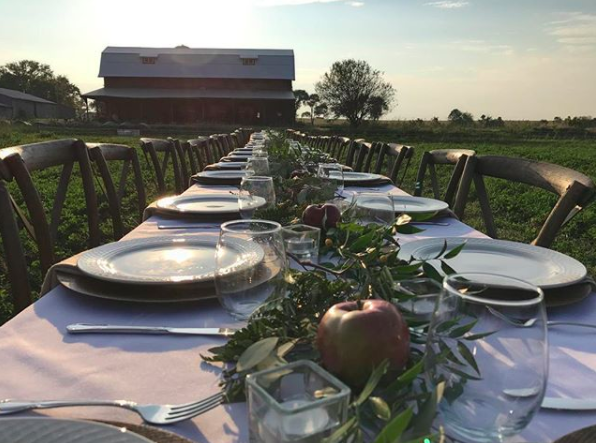
  • As a member, you can opt to select a produce share, a meat share, or both. In addition, members receive two custom Field and Farm Co campfire mugs and will be invited to one of four private dining events held at our farm.


  • Shares will be available for pick up every other week beginning in June and ending in October. Pick-up locations are being Finalized but there will be one in Barrington/Palatine and one in Oakbrook.


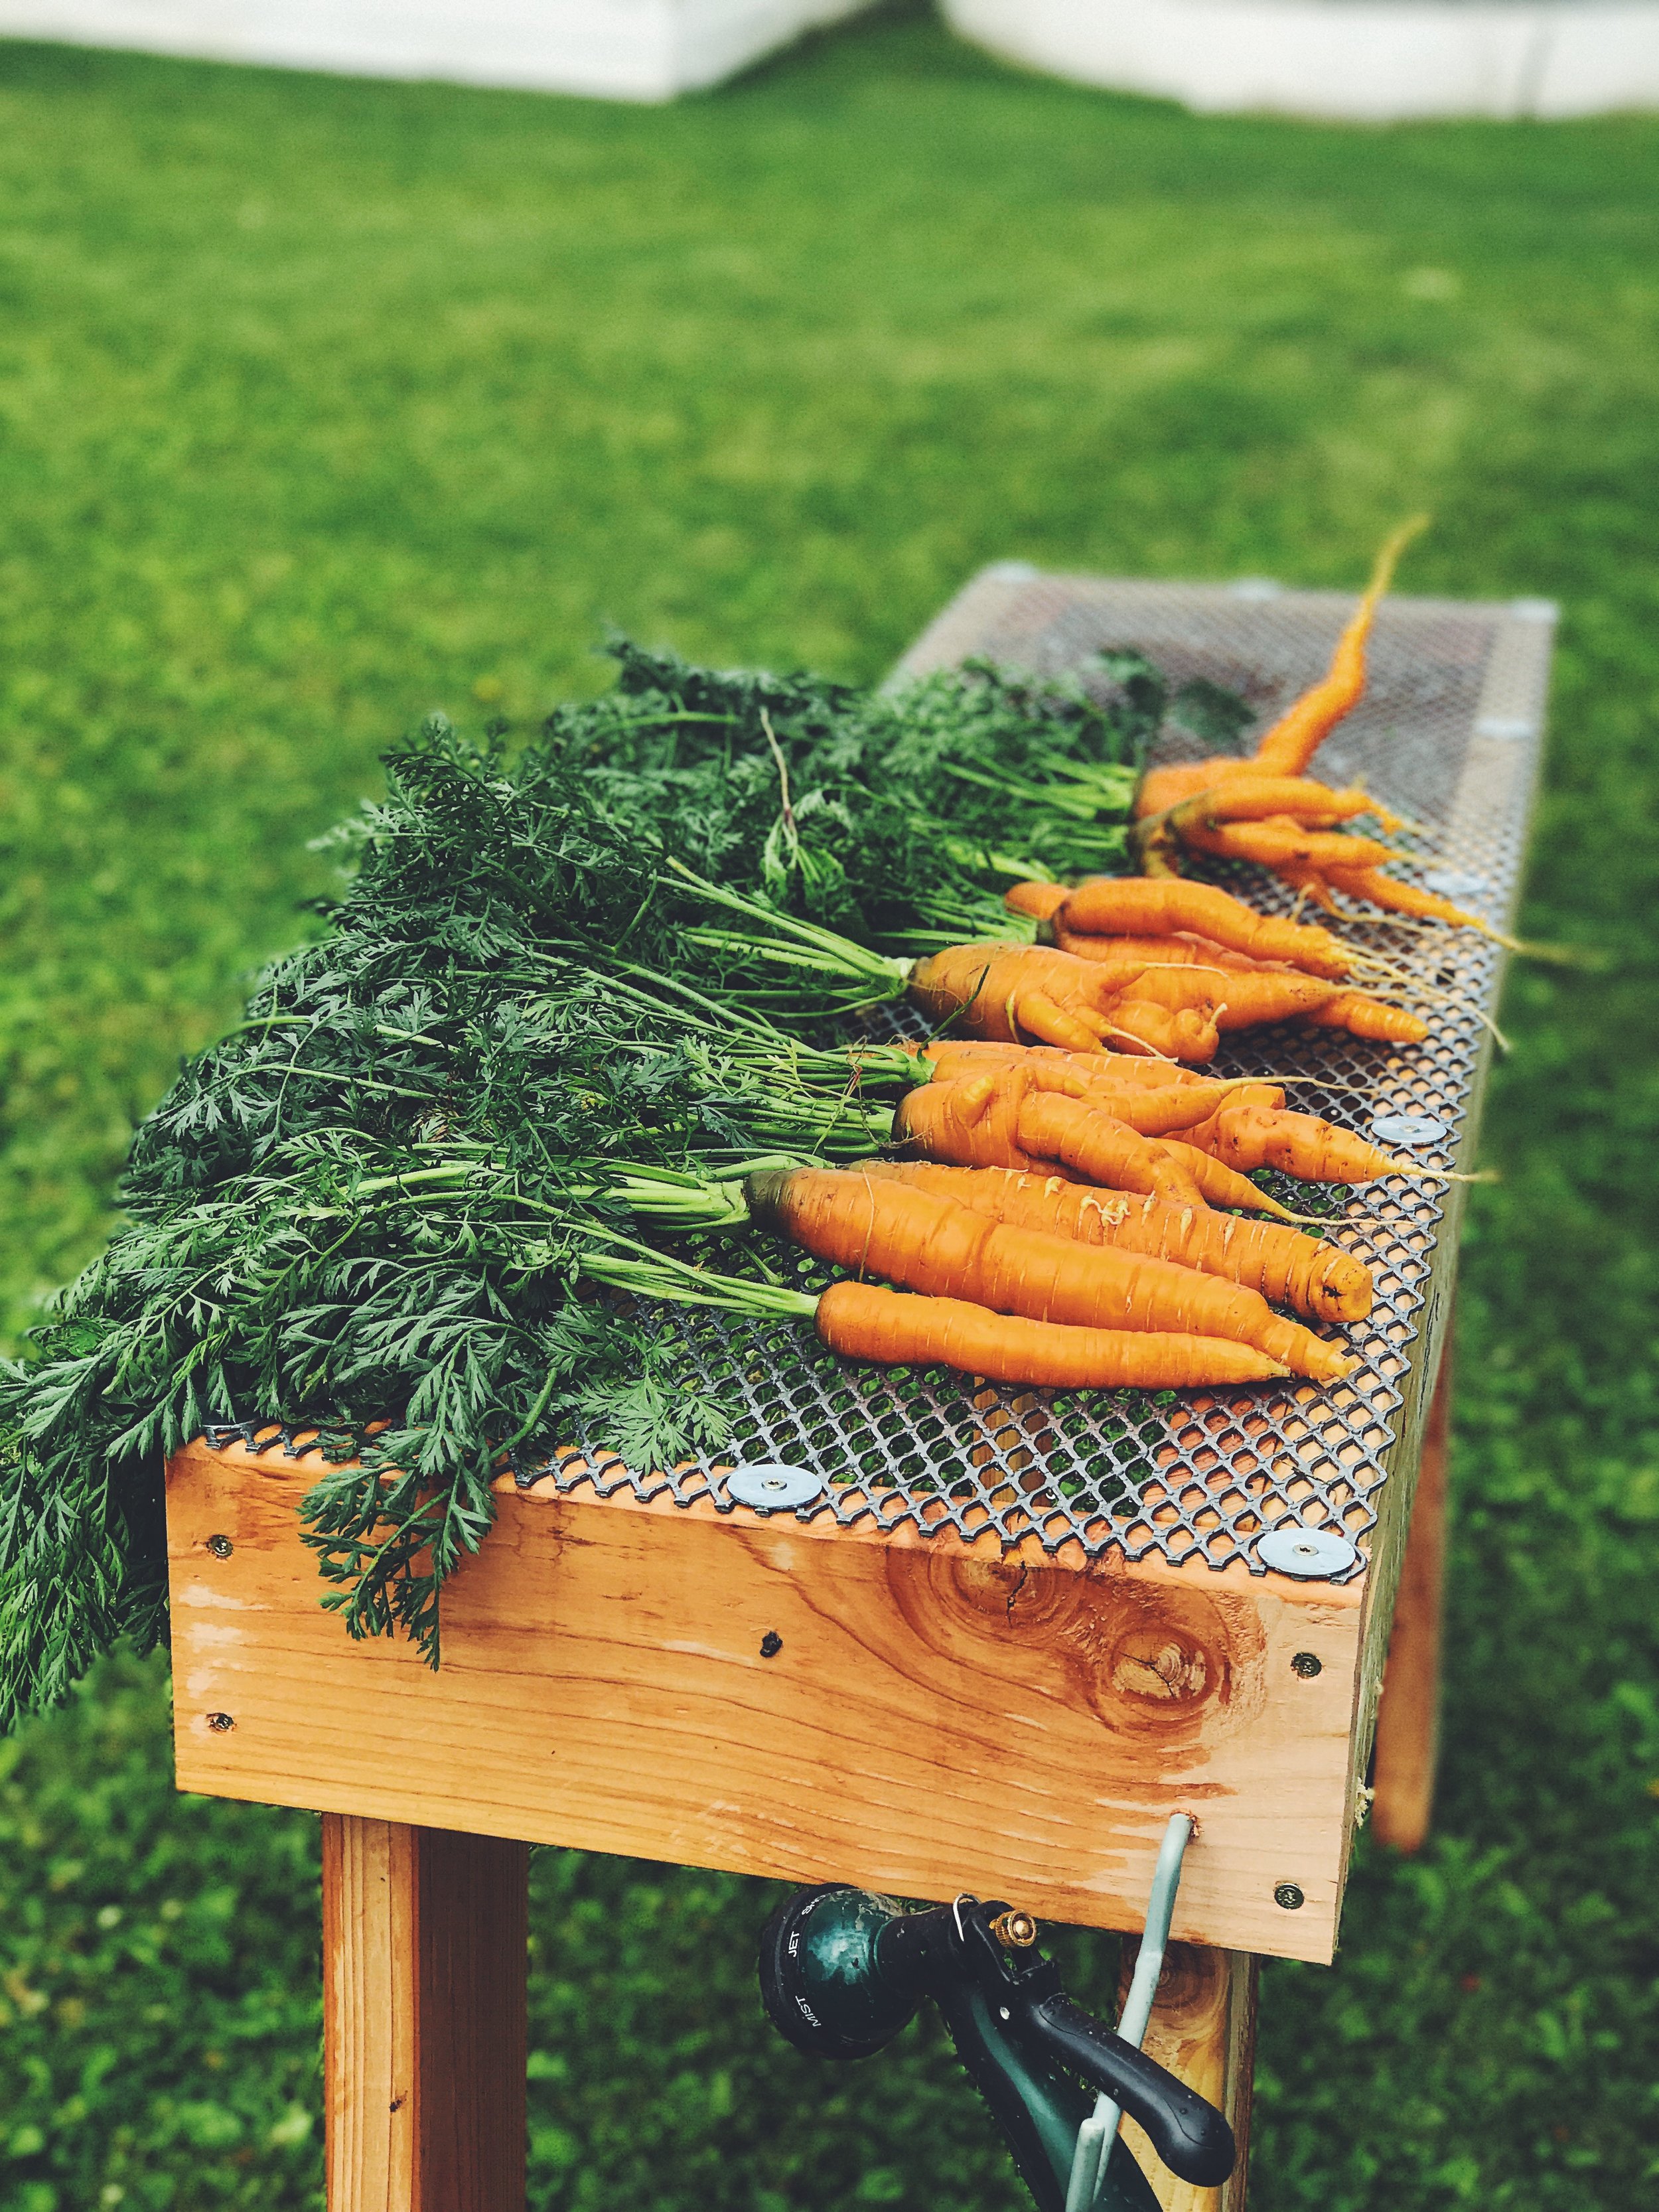
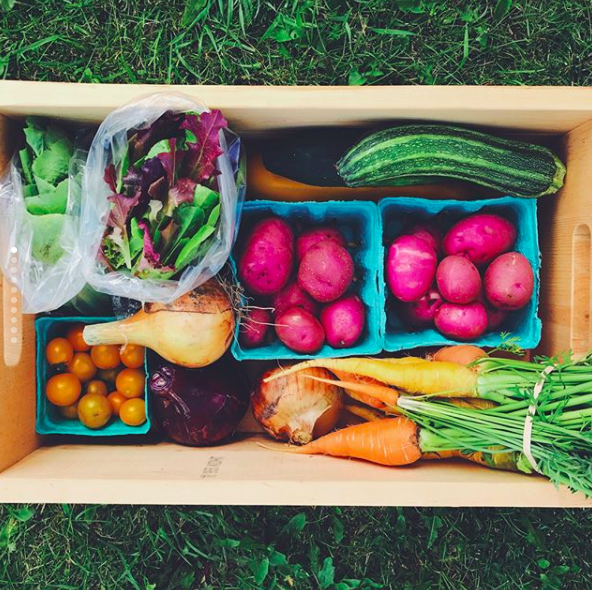
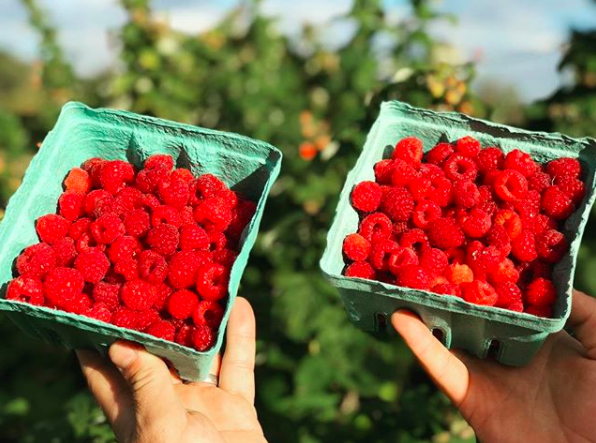
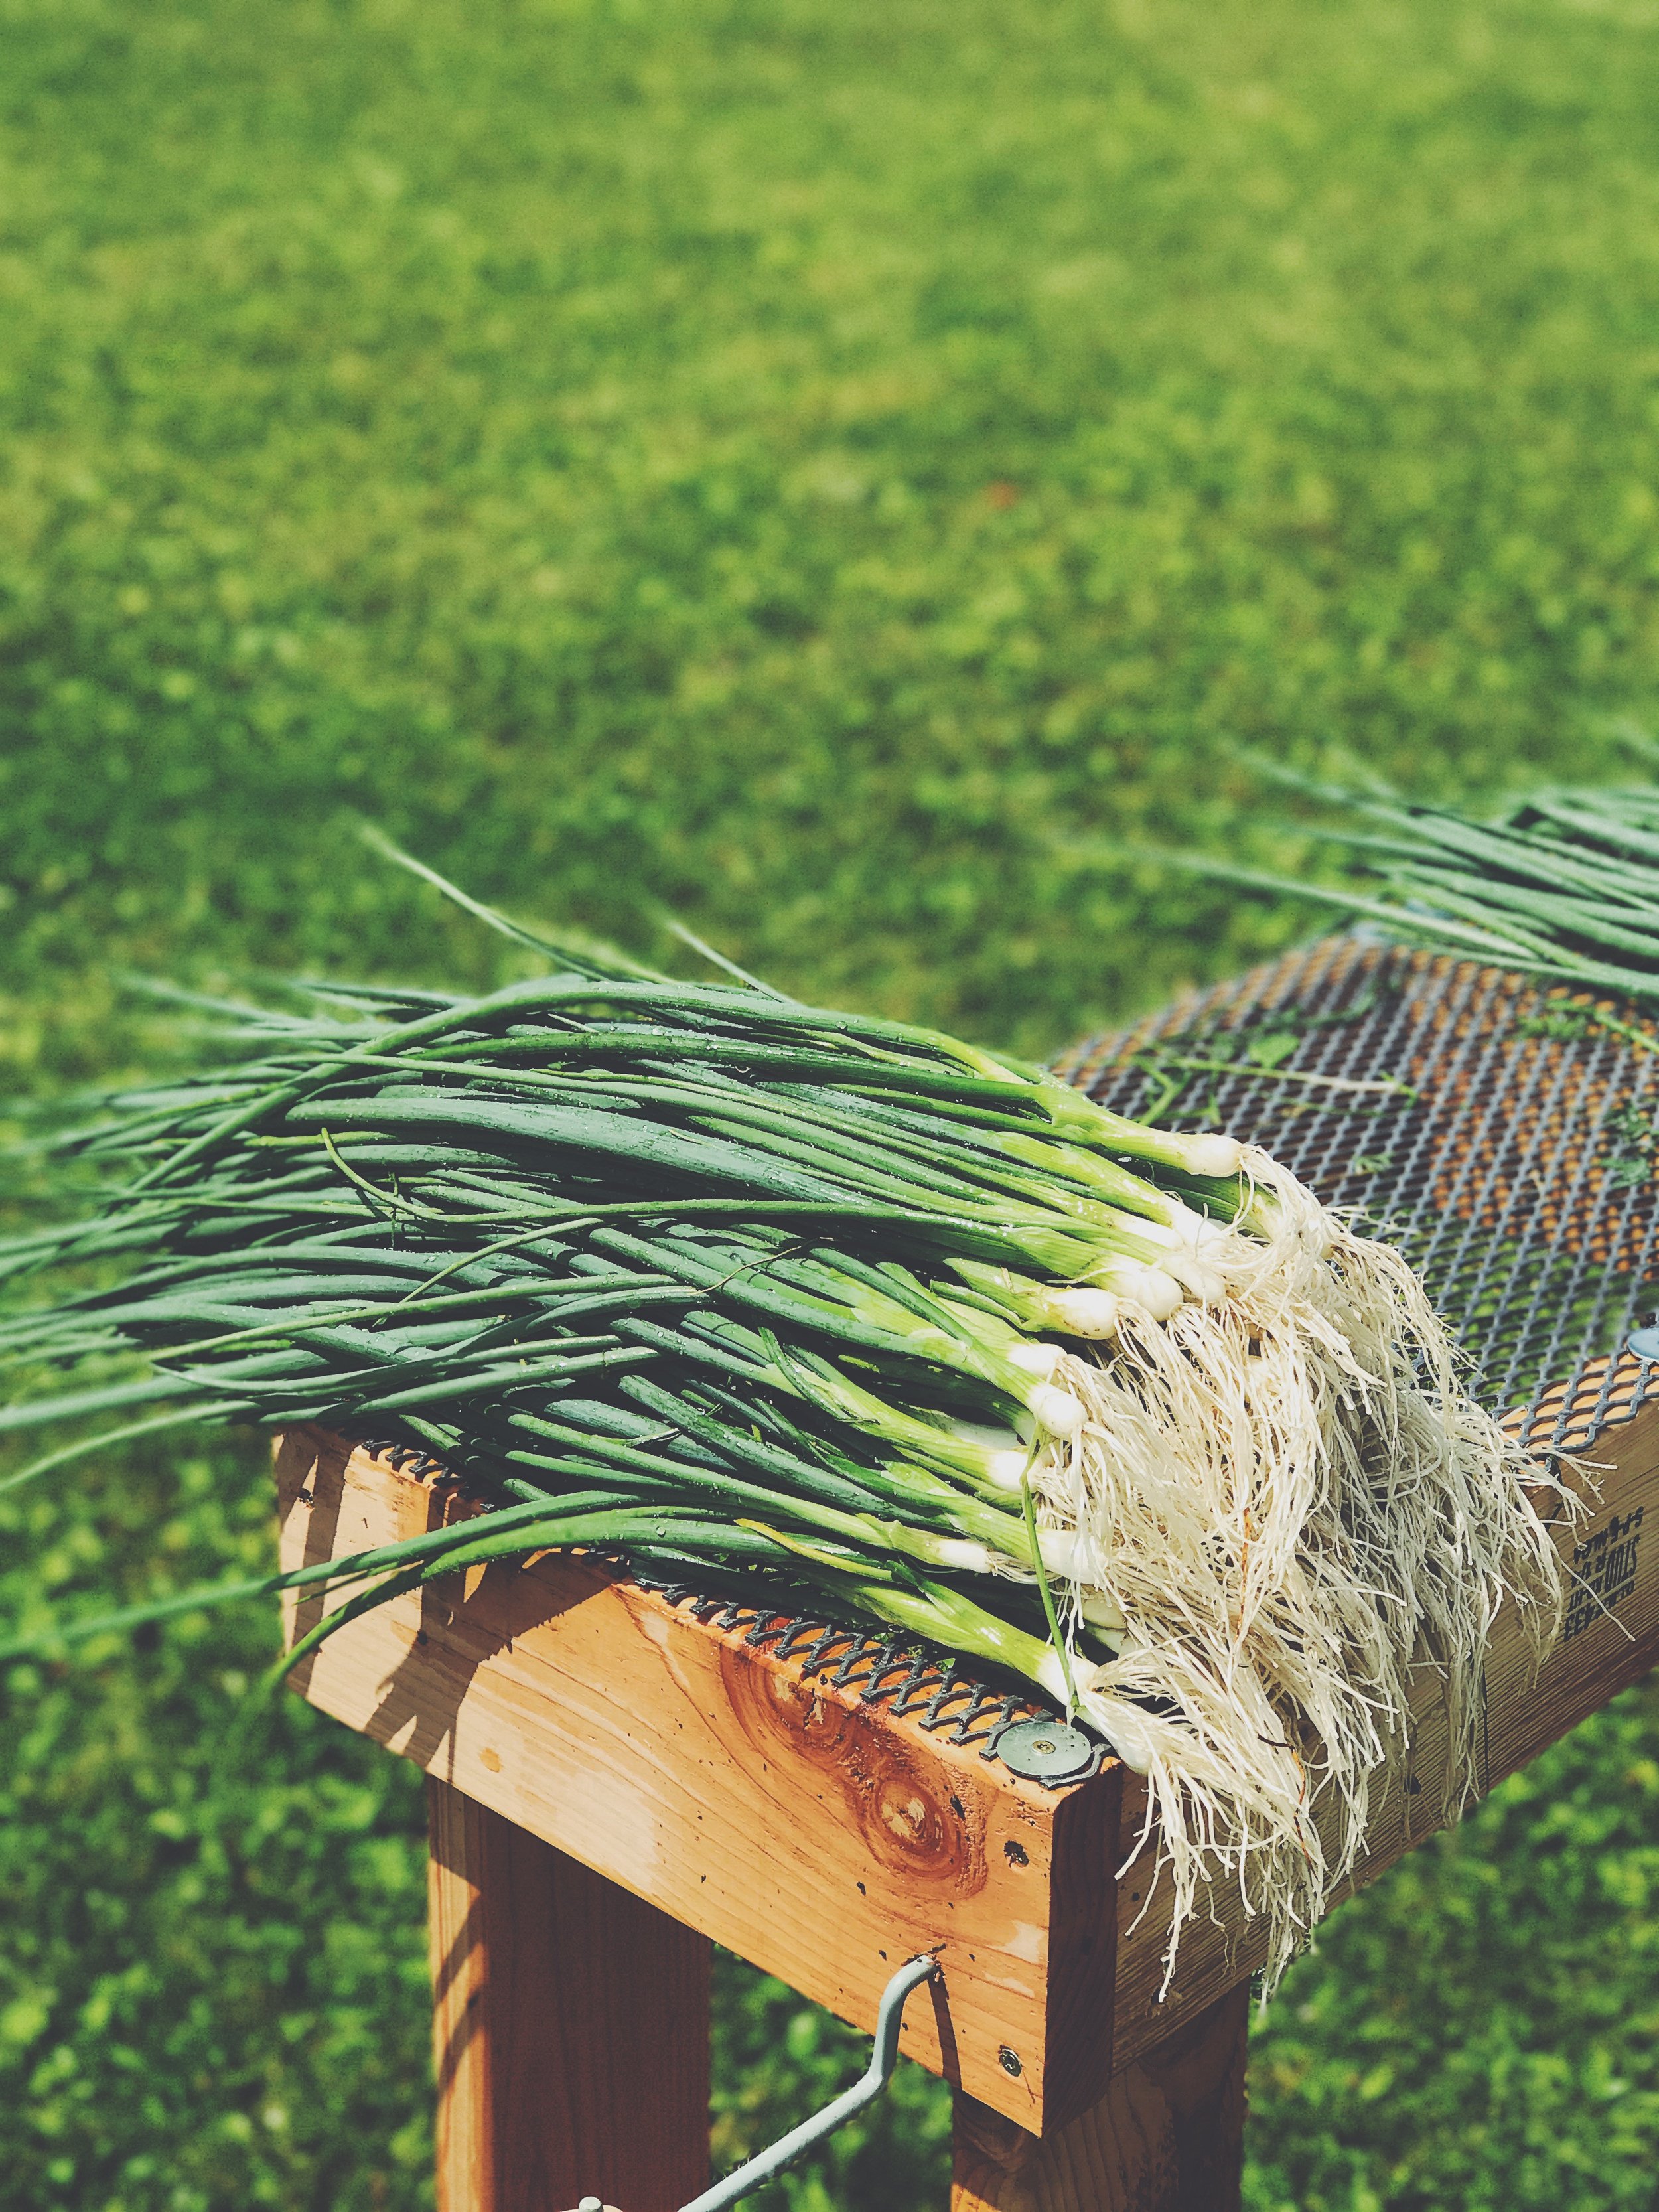
  • All produce is organic, sustainably-farmed and local. No pesticides or harmful chemicals are used, from seed to harvest. Produce shares will include many fruits and vegetables you commonly use, such as: carrots, spinach, onions, kale, potatoes, peppers, tomatoes, corn, salad mix, melons, herbs and more.


  • All meat is grass-fed and grass-Finished on open pasture, with no growth hormones. Members opting for a Meat share can elect to sign up for either a full share (10 lbs) or a half share (5 lbs). Both full and half shares will consist of ground beef (50%), roasts (30%) and steaks (20%).


  • The cost for your membership will be split across two payments, billed twice during the season: half is due on April 1st and the remaining balance will be due July 1st. Payments can be made via cash, check, or credit card.


The number of shares we are able to provide is limited, so at your earliest convenience, reserve your membership below. 


We look forward to continuing to cultivate and nurture community, while using our land to inspire others to live a life of freedom and wellness. Thank you for being a part of our farm and a part of our community.


Cheers,

Benjamin and Meghan


2018 membership form

Farmhouse Renovation

Of all the things I've greatly underestimated in life, renovating this farmhouse is certainly at the top of the list. The house was move in ready at the time of purchase. It had been vacant for two years but well maintained. There were no structural issues, we simply wanted to make it "ours."


To give you an idea of our timeframe, we purchased the house in the beginning of April, 2016. We had an existing lease that extended through the fall, but managed to secure an early exit without paying fees. At the time it seemed reasonable to believe the cosmetic changes we wanted to do could be completed within 4 weeks, so we planned to move the beginning of May. The scope of these changes included:


-Painting the house top to bottom

-Removing carpet on First and second Floors

-Updating the (only) bathroom

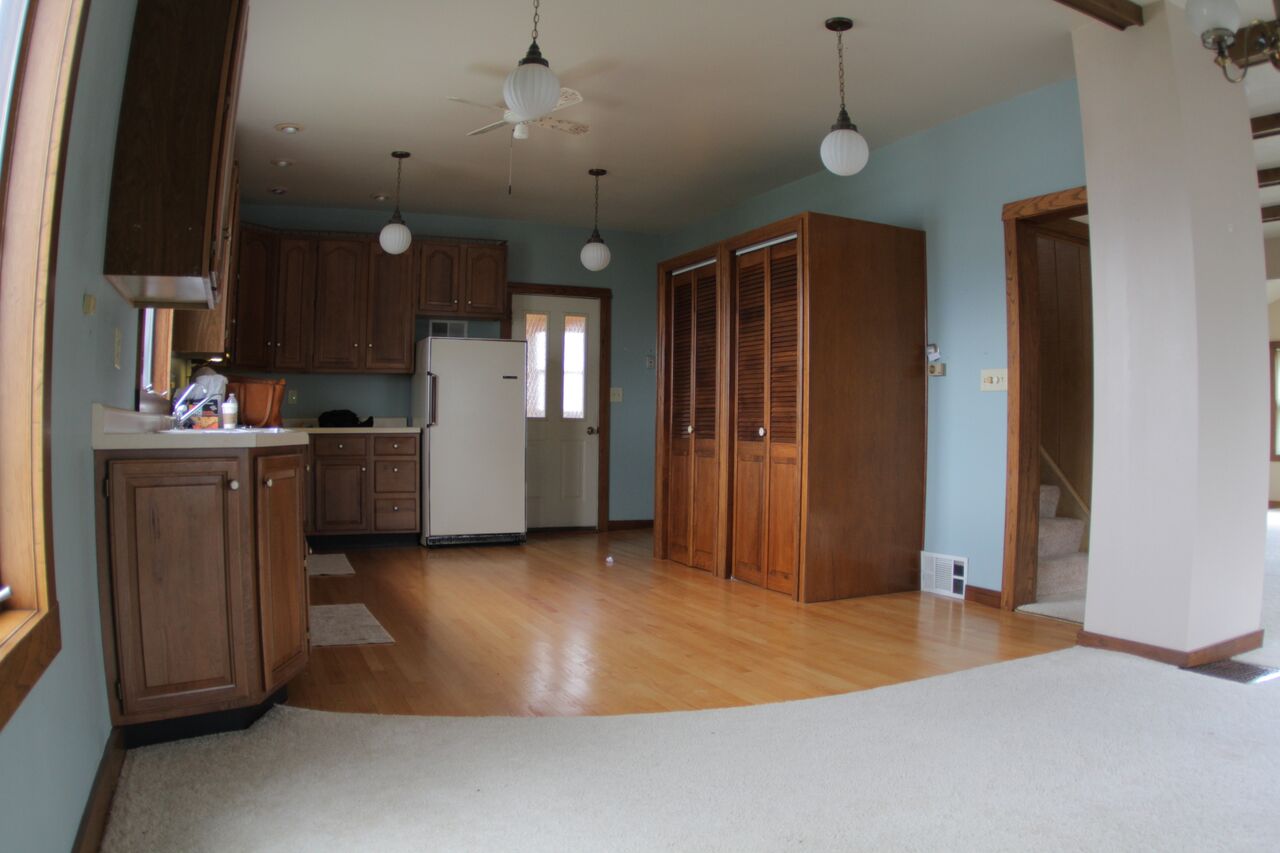
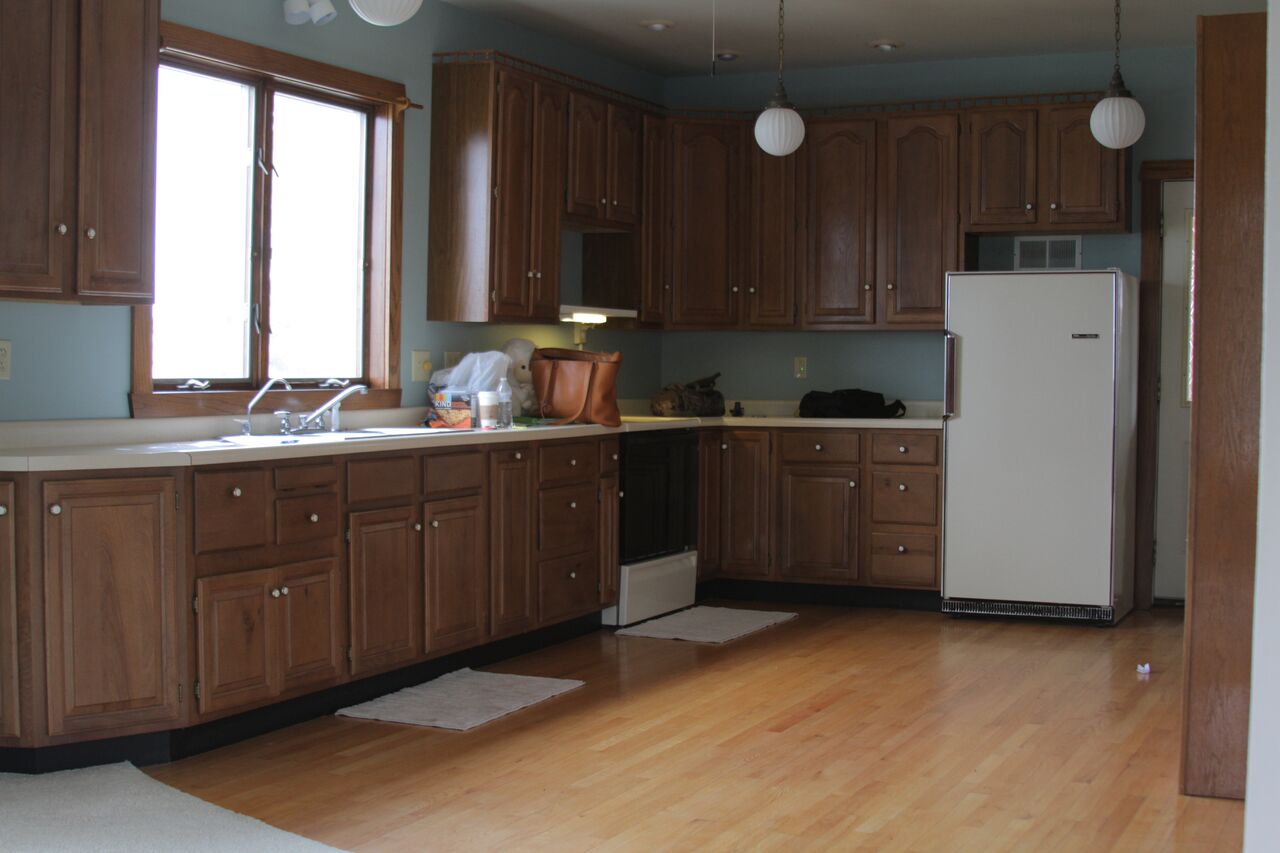
-Removing upper cabinets and painting lower cabinets in kitchen

-Relocating washer and dryer from kitchen into mudroom

-Adding an island to the center of the kitchen

-Updating the plaster throughout the First Floor to remove existing texture

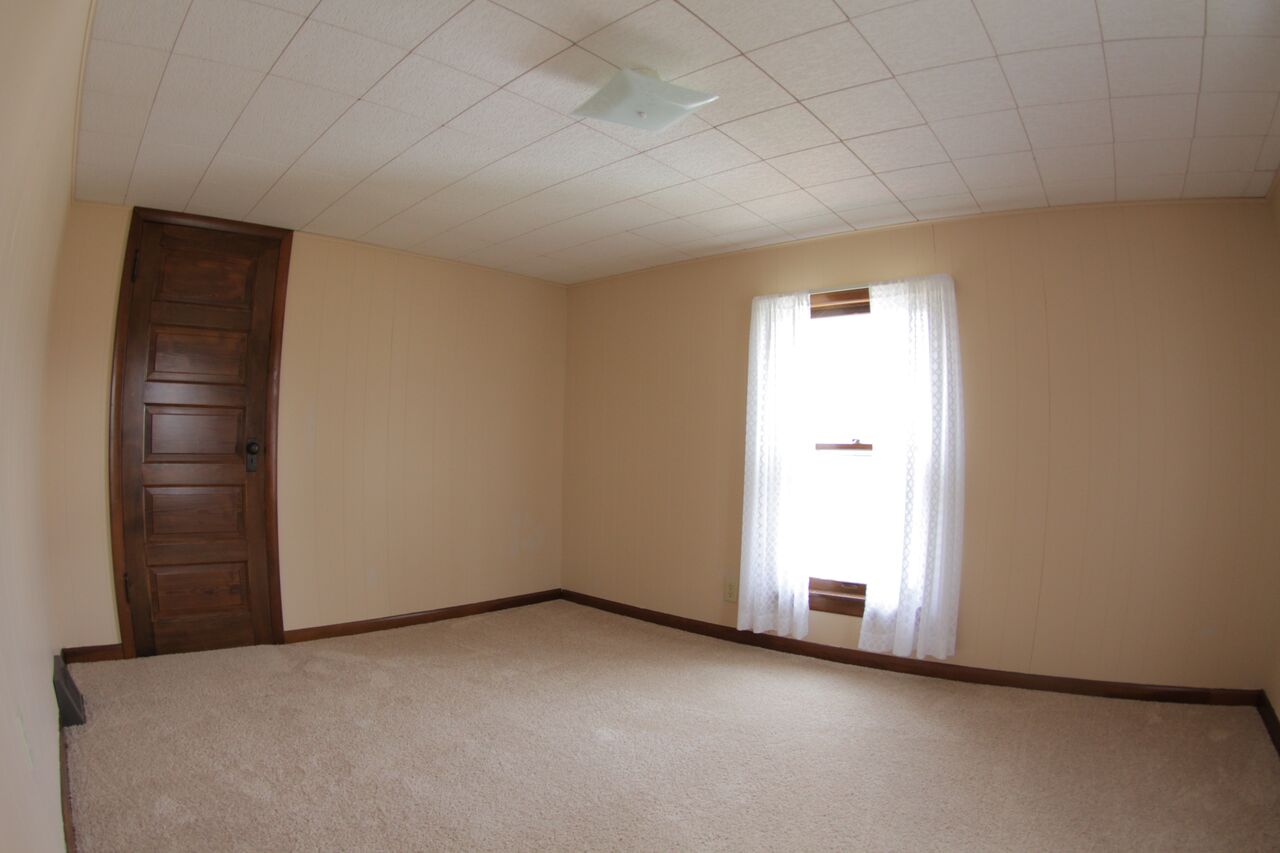
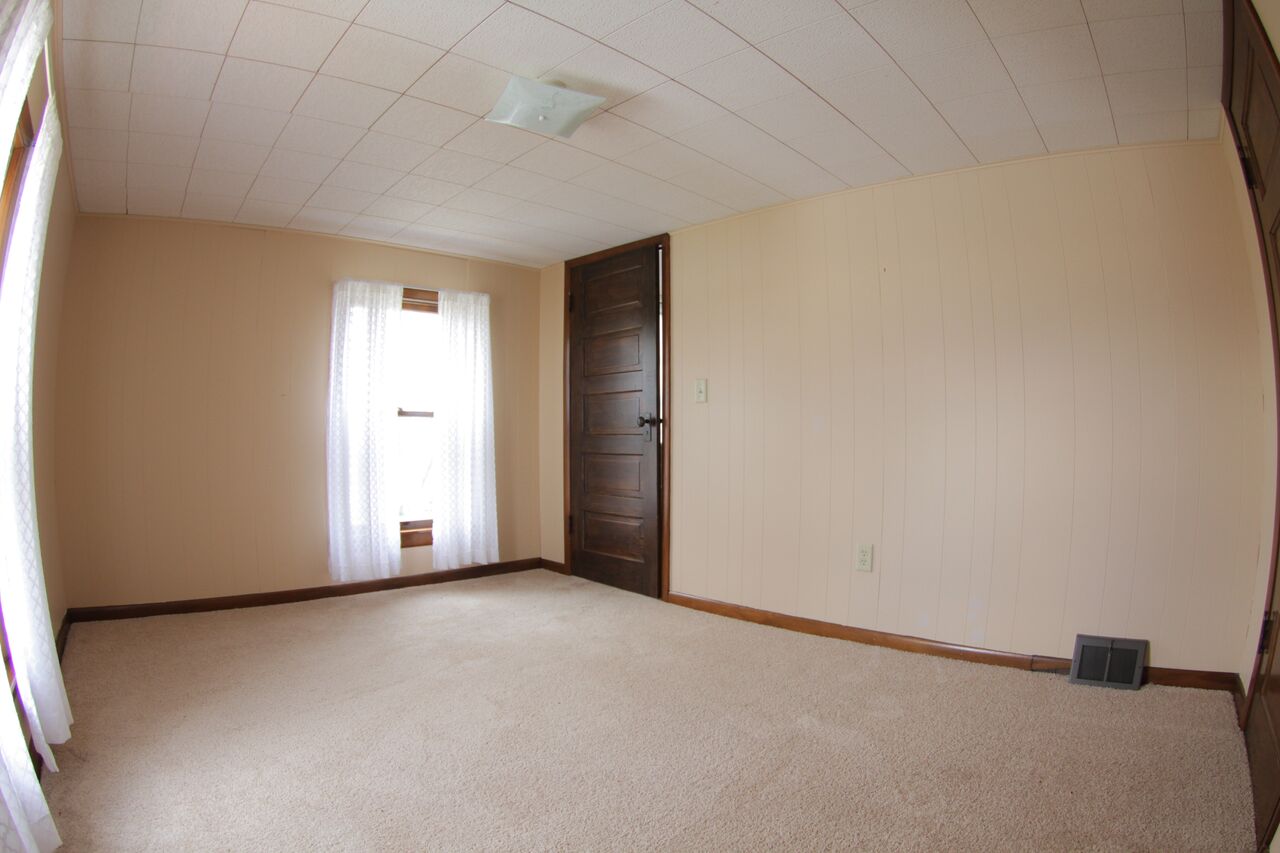
-Drywall second Floor walls (in lieu of existing wood paneling)

-Drywall bedroom ceilings (in lieu of existing popcorn tiles)

-Updating appliances


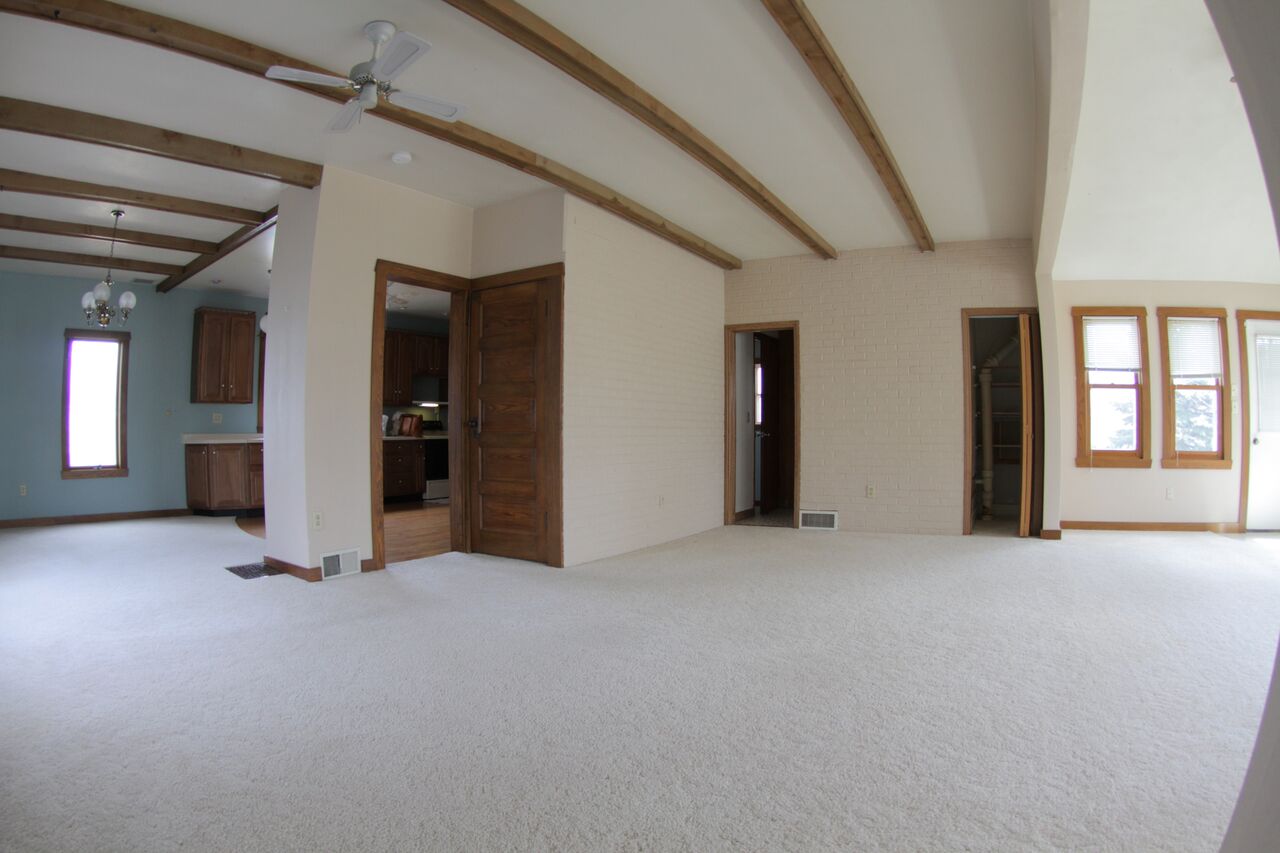
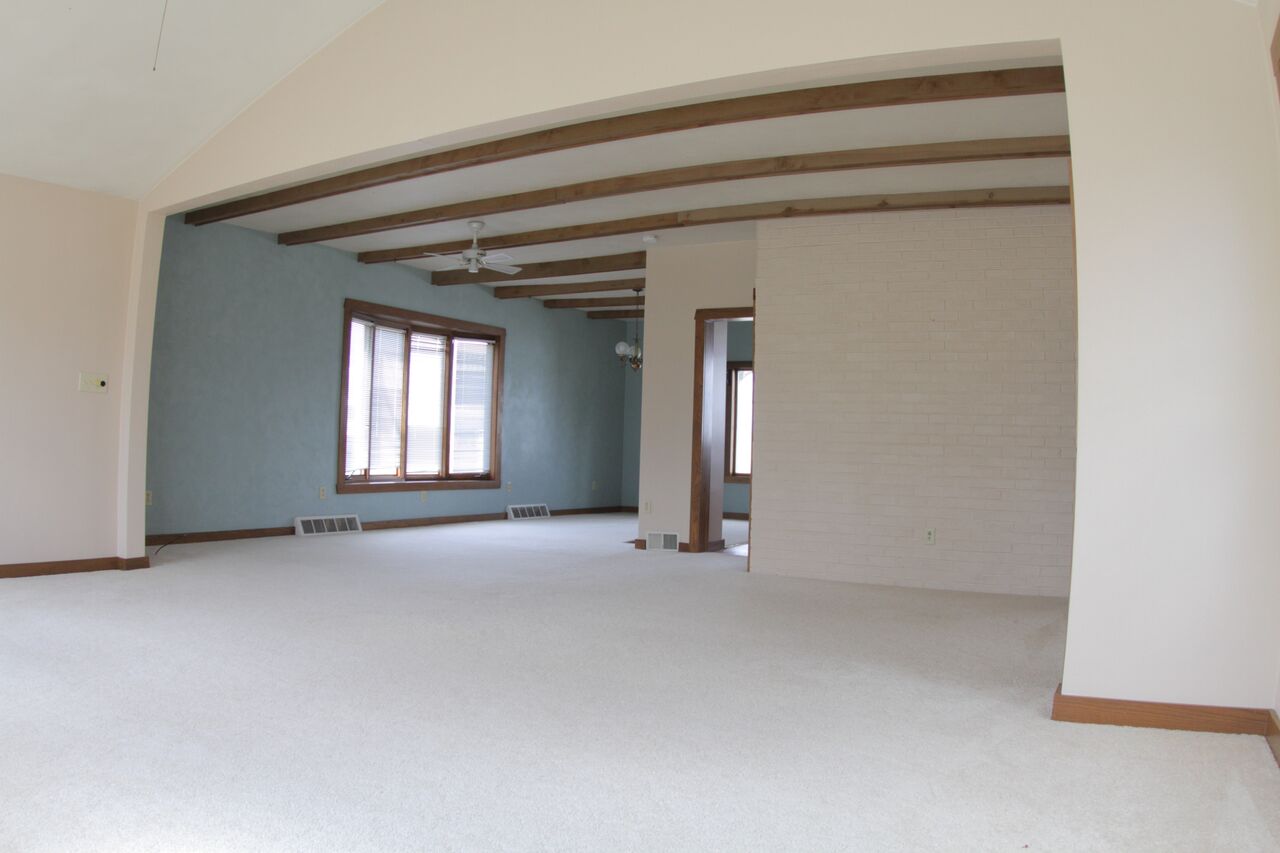
Anyone who has engaged in this process knows that if you start to pull a thread, often what unravels is the entire sweater. As it turns out, all of the "strange" things in existence within our 150+ year old house were there for a reason.  We REALLY got into trouble in terms of our capabilities, budget, and timeline when we:


-Realized the Flooring beneath the carpets had more patching than original wood

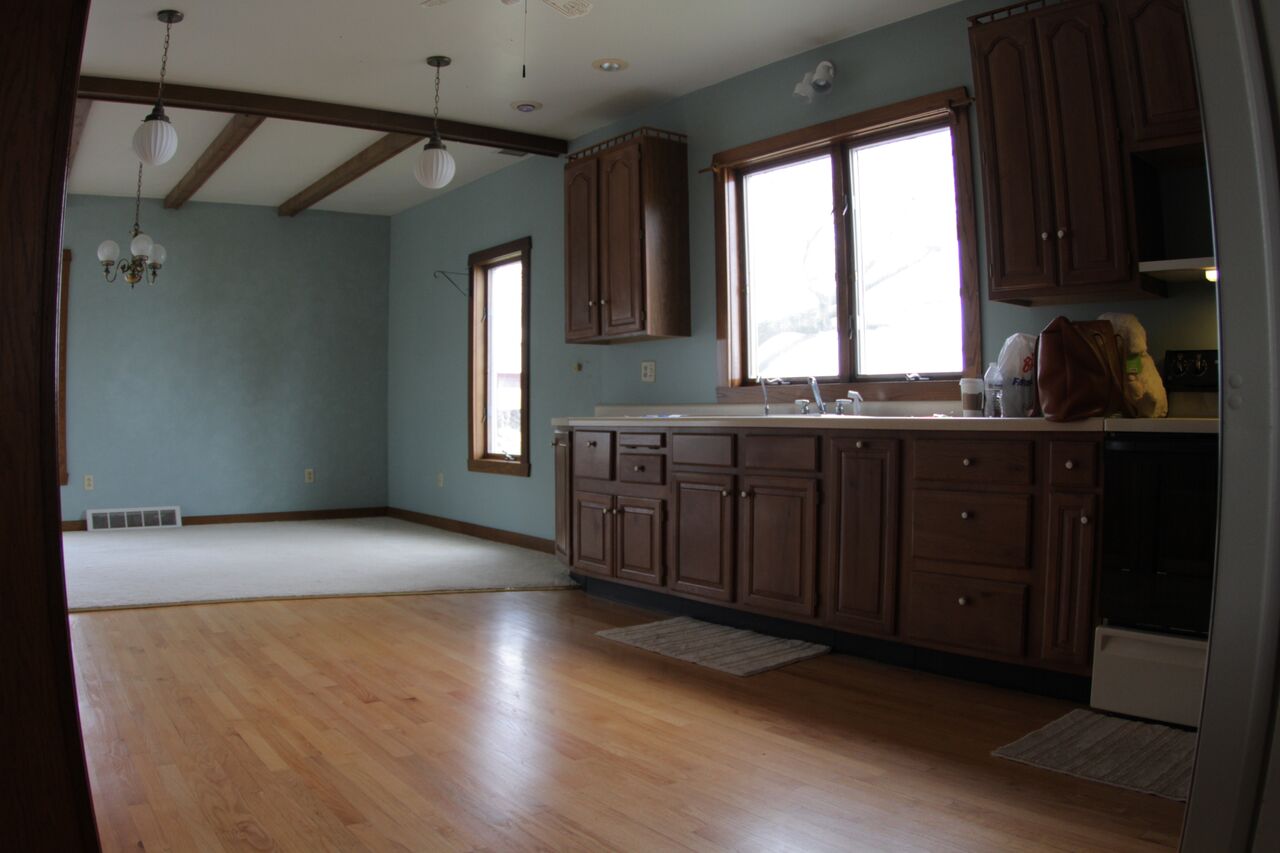
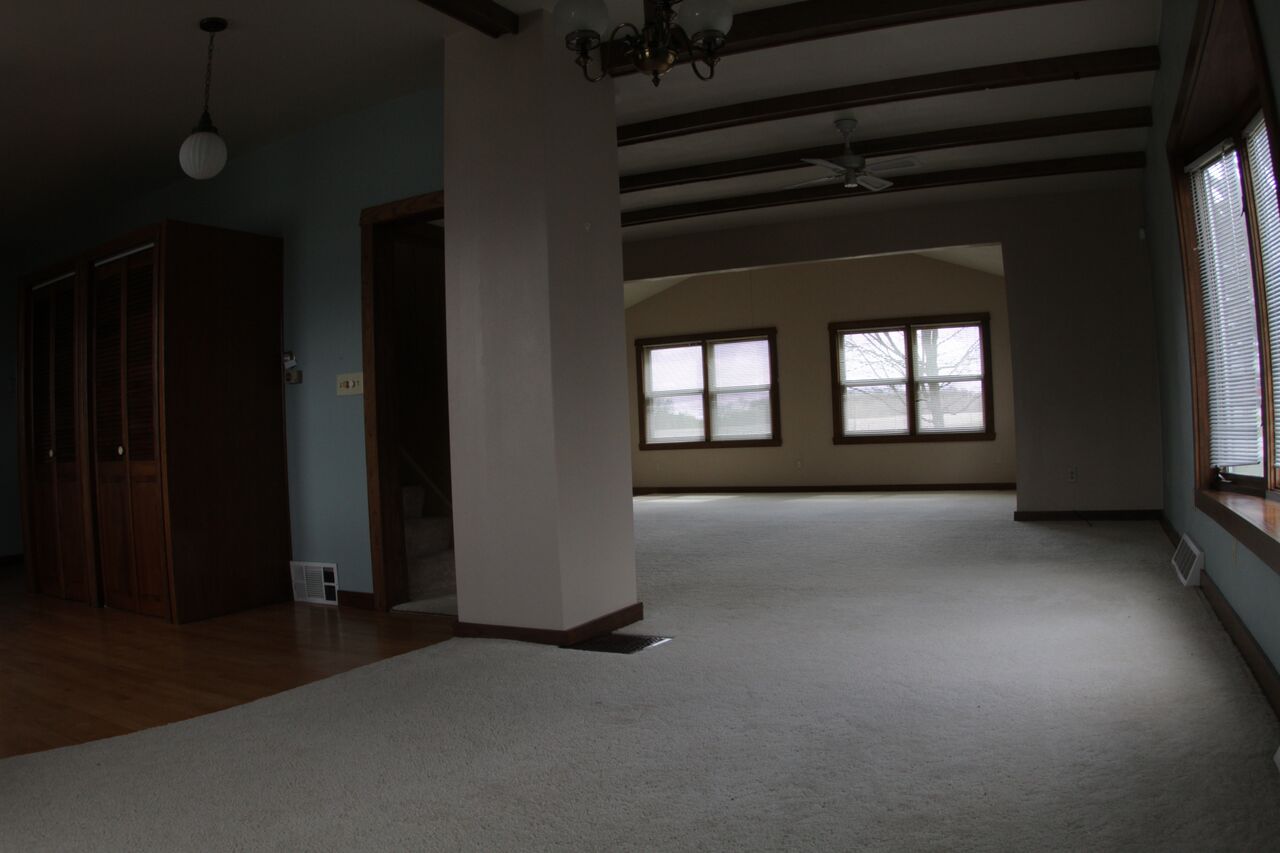
-Tried to remove the faux wood beams throughout the front rooms and discovered an unsightly header right in the middle of one room

-Decided to remove the door and a wall to open up the staircase

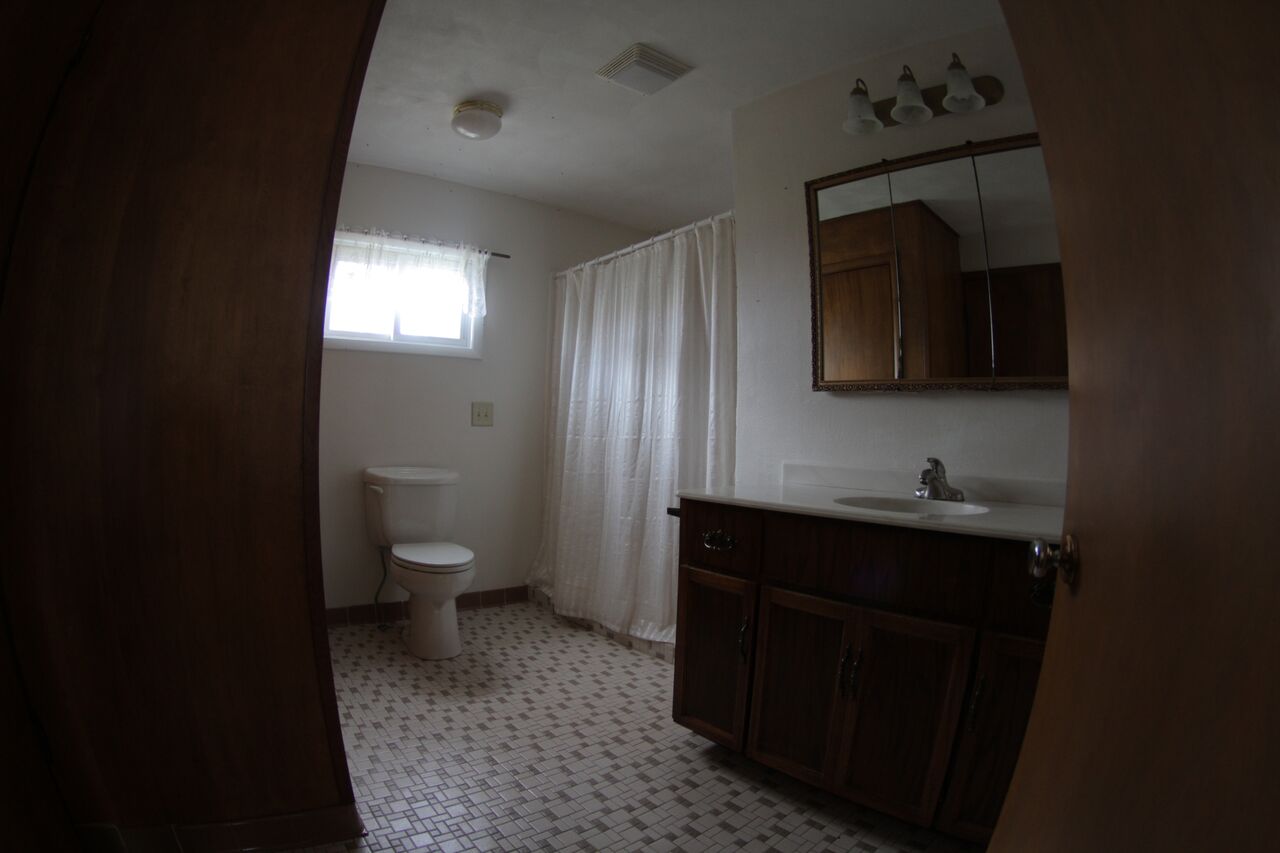
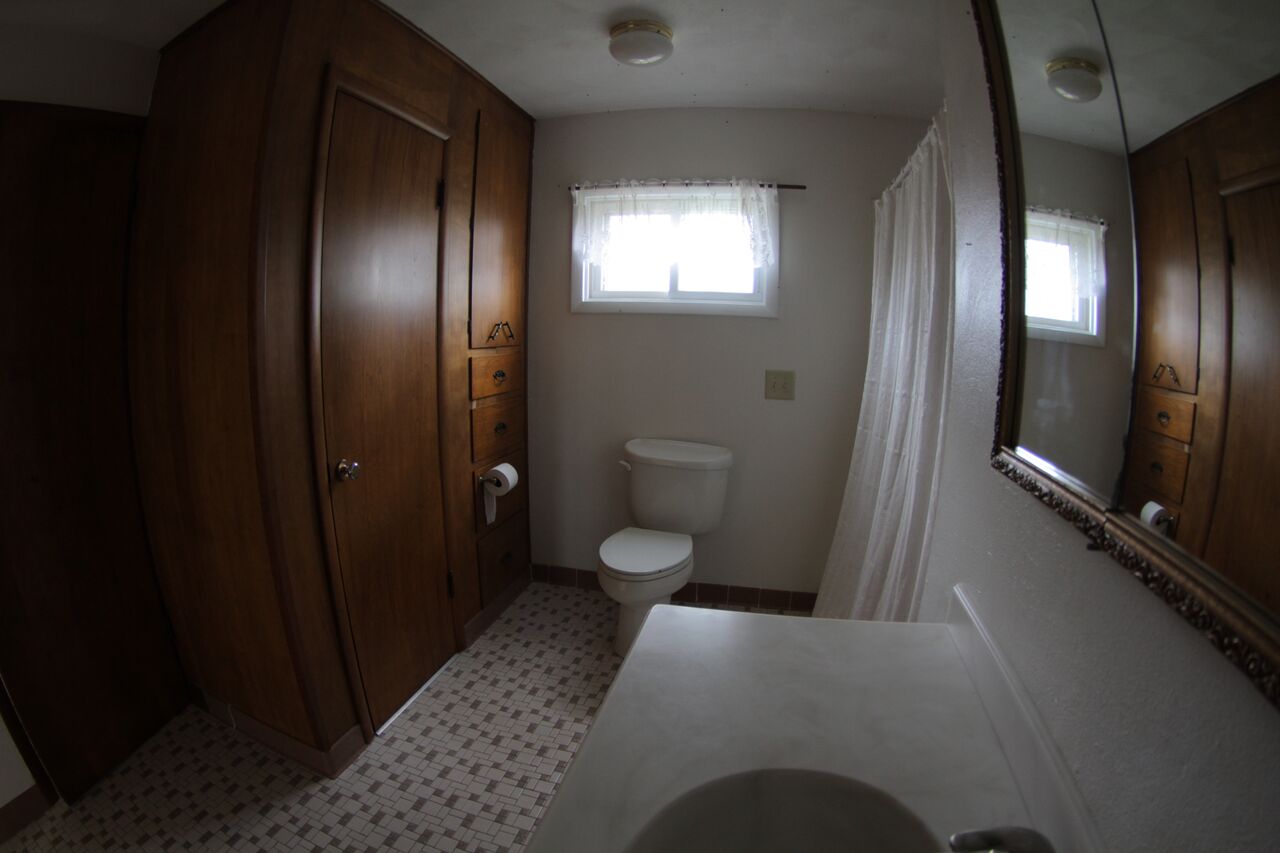
-Determined that in order to maximize the bathroom we needed to absorb the front room closet, close off two doorways, and relocate an ancient cast iron pipe

-Decided to remove a faux brick wall

-Realized we should probably update the electric system, given we had children


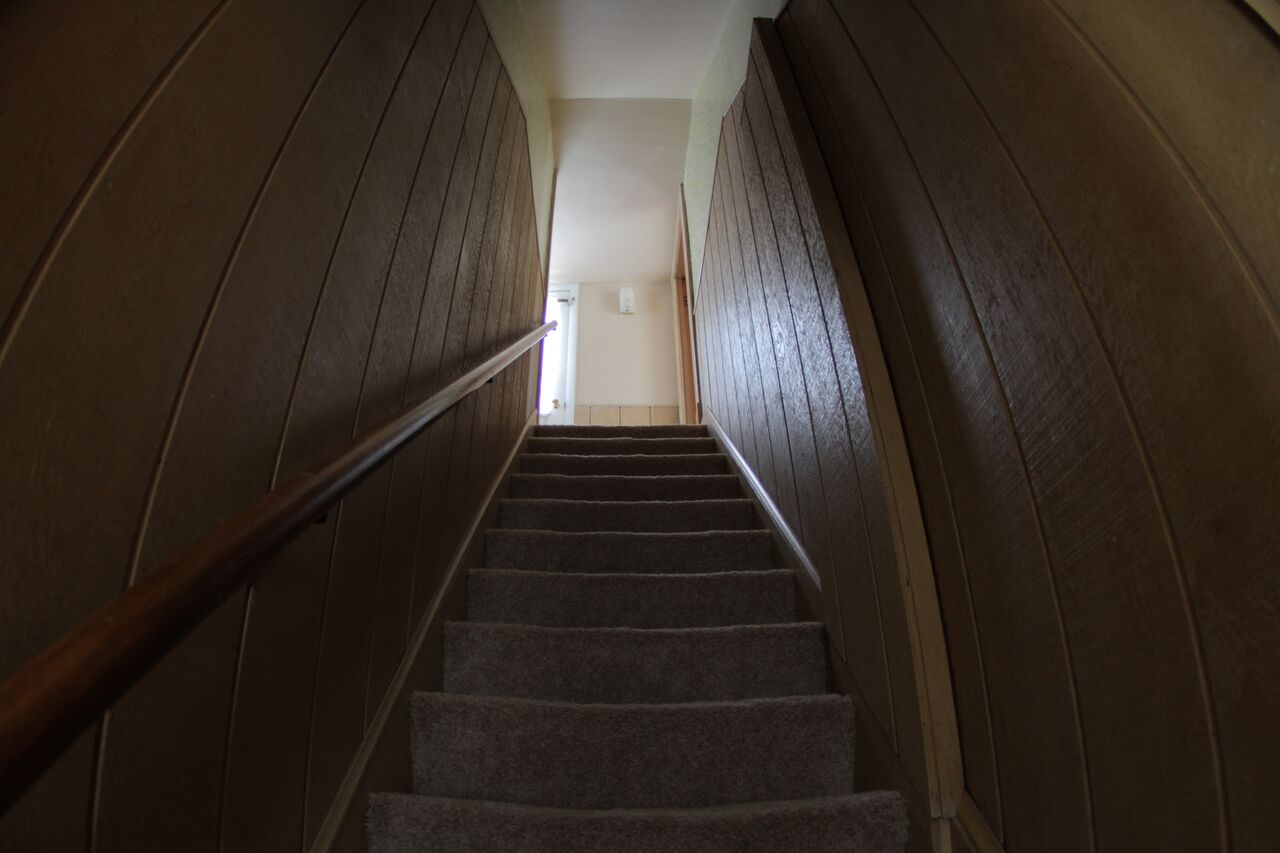
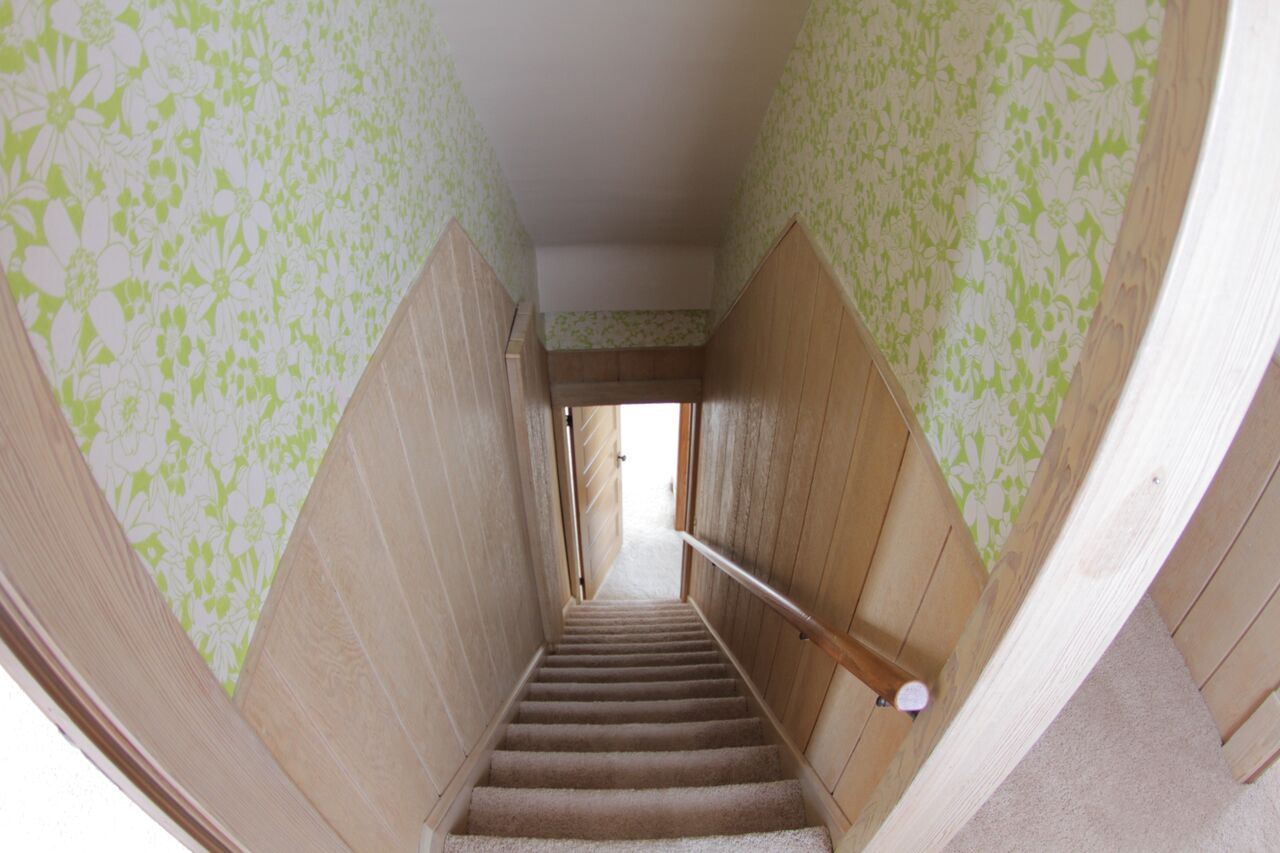
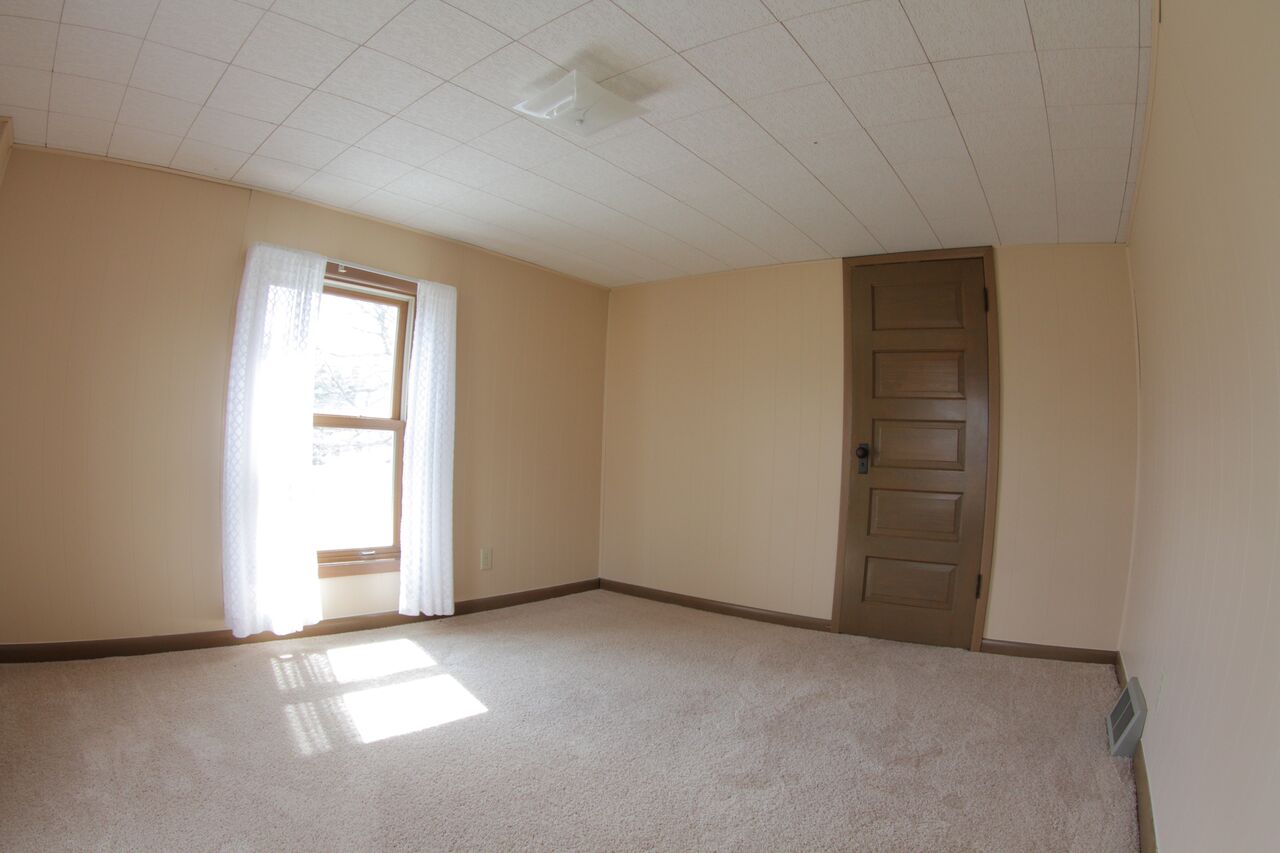
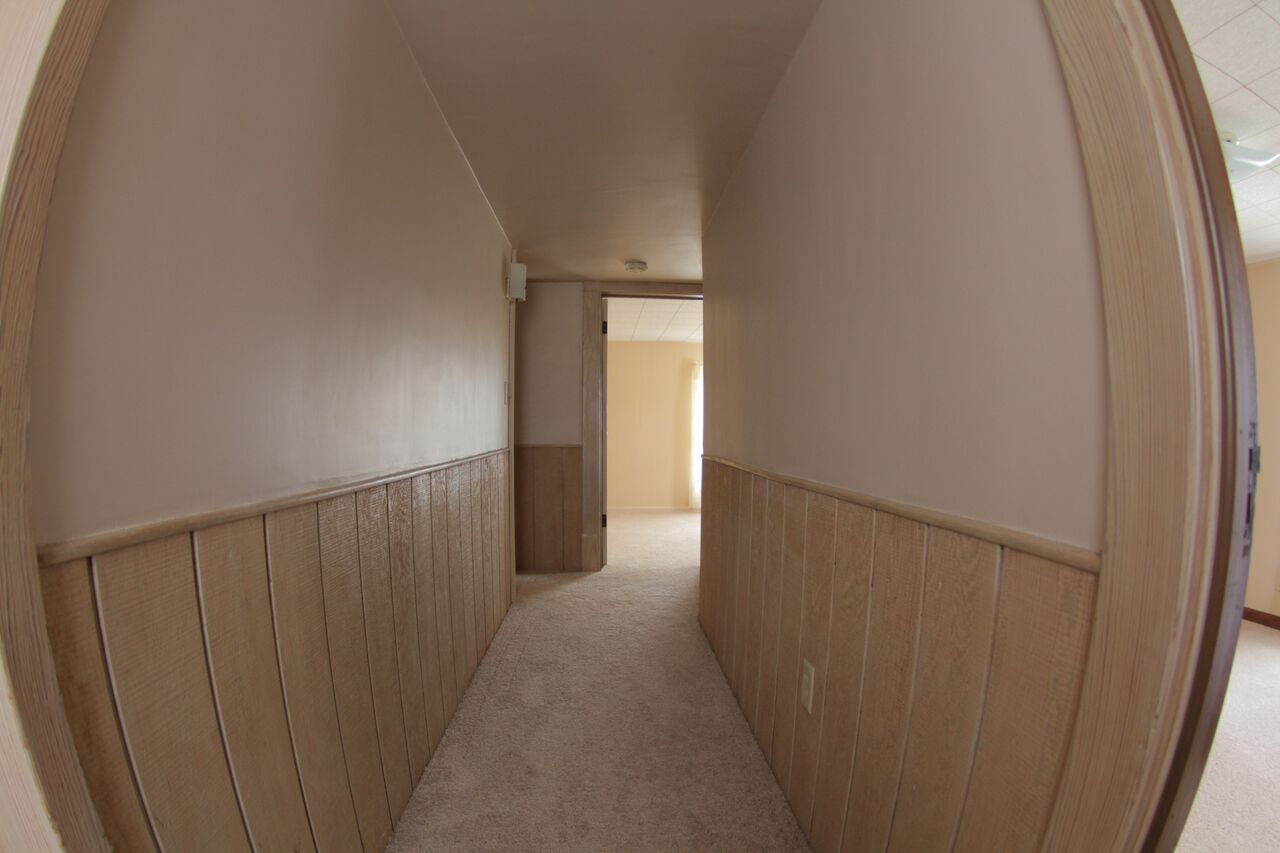
In any case, here are the before shots...


As May came and went, we found ourselves living with Ben's parents and deeply in over our heads. We moved into the farmhouse at the beginning of august. at the time we had dumpster #3 outside, I was mid-way through our second pregnancy and by then everyone was familiar with the make-shift outhouse as the only means of plumbing.   It took us ten months of working literally every spare hour we had to get the main Floor to what it is today.


The only work we contracted was for the plumbing, electrical, and plaster. The rest of the manual labor was primarily completed by Ben, myself, and my dad. Ben's parents, his grandmother Betty, and a handful of friends also spent countless hours helping us complete critical stages of painting and cleaning. To all of you, we are forever thankful.


In the end, here are the changes we made:


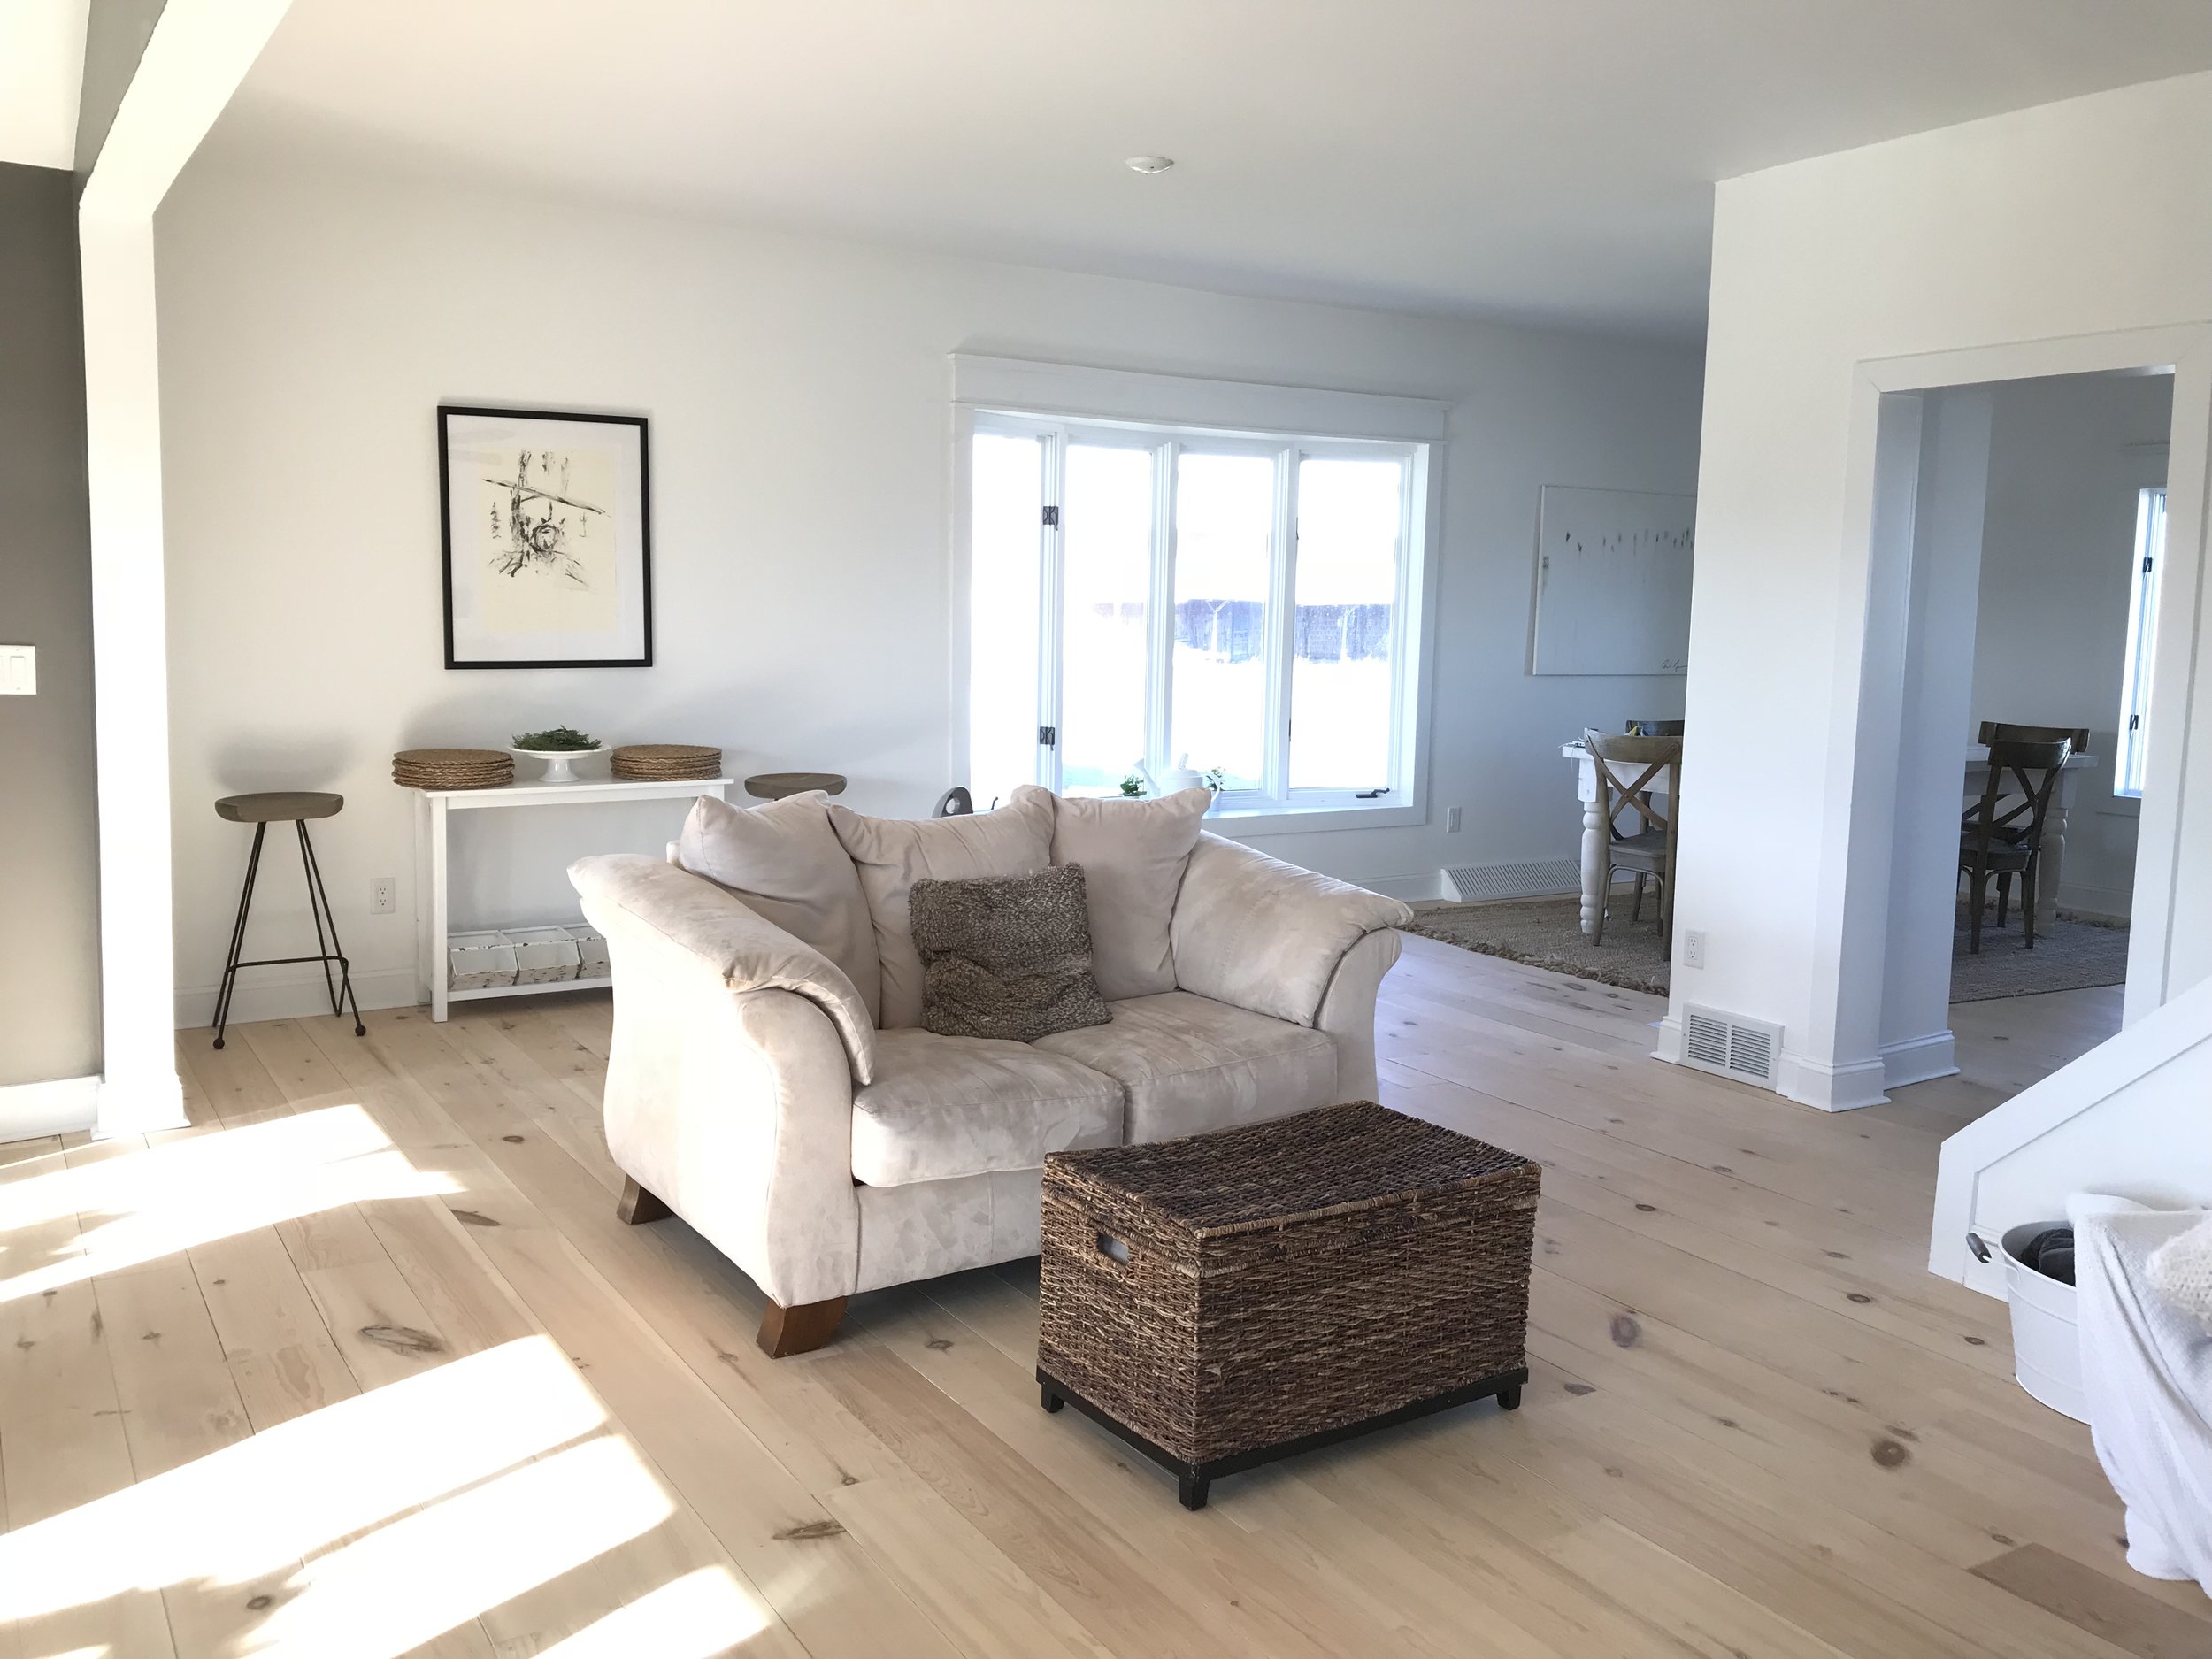
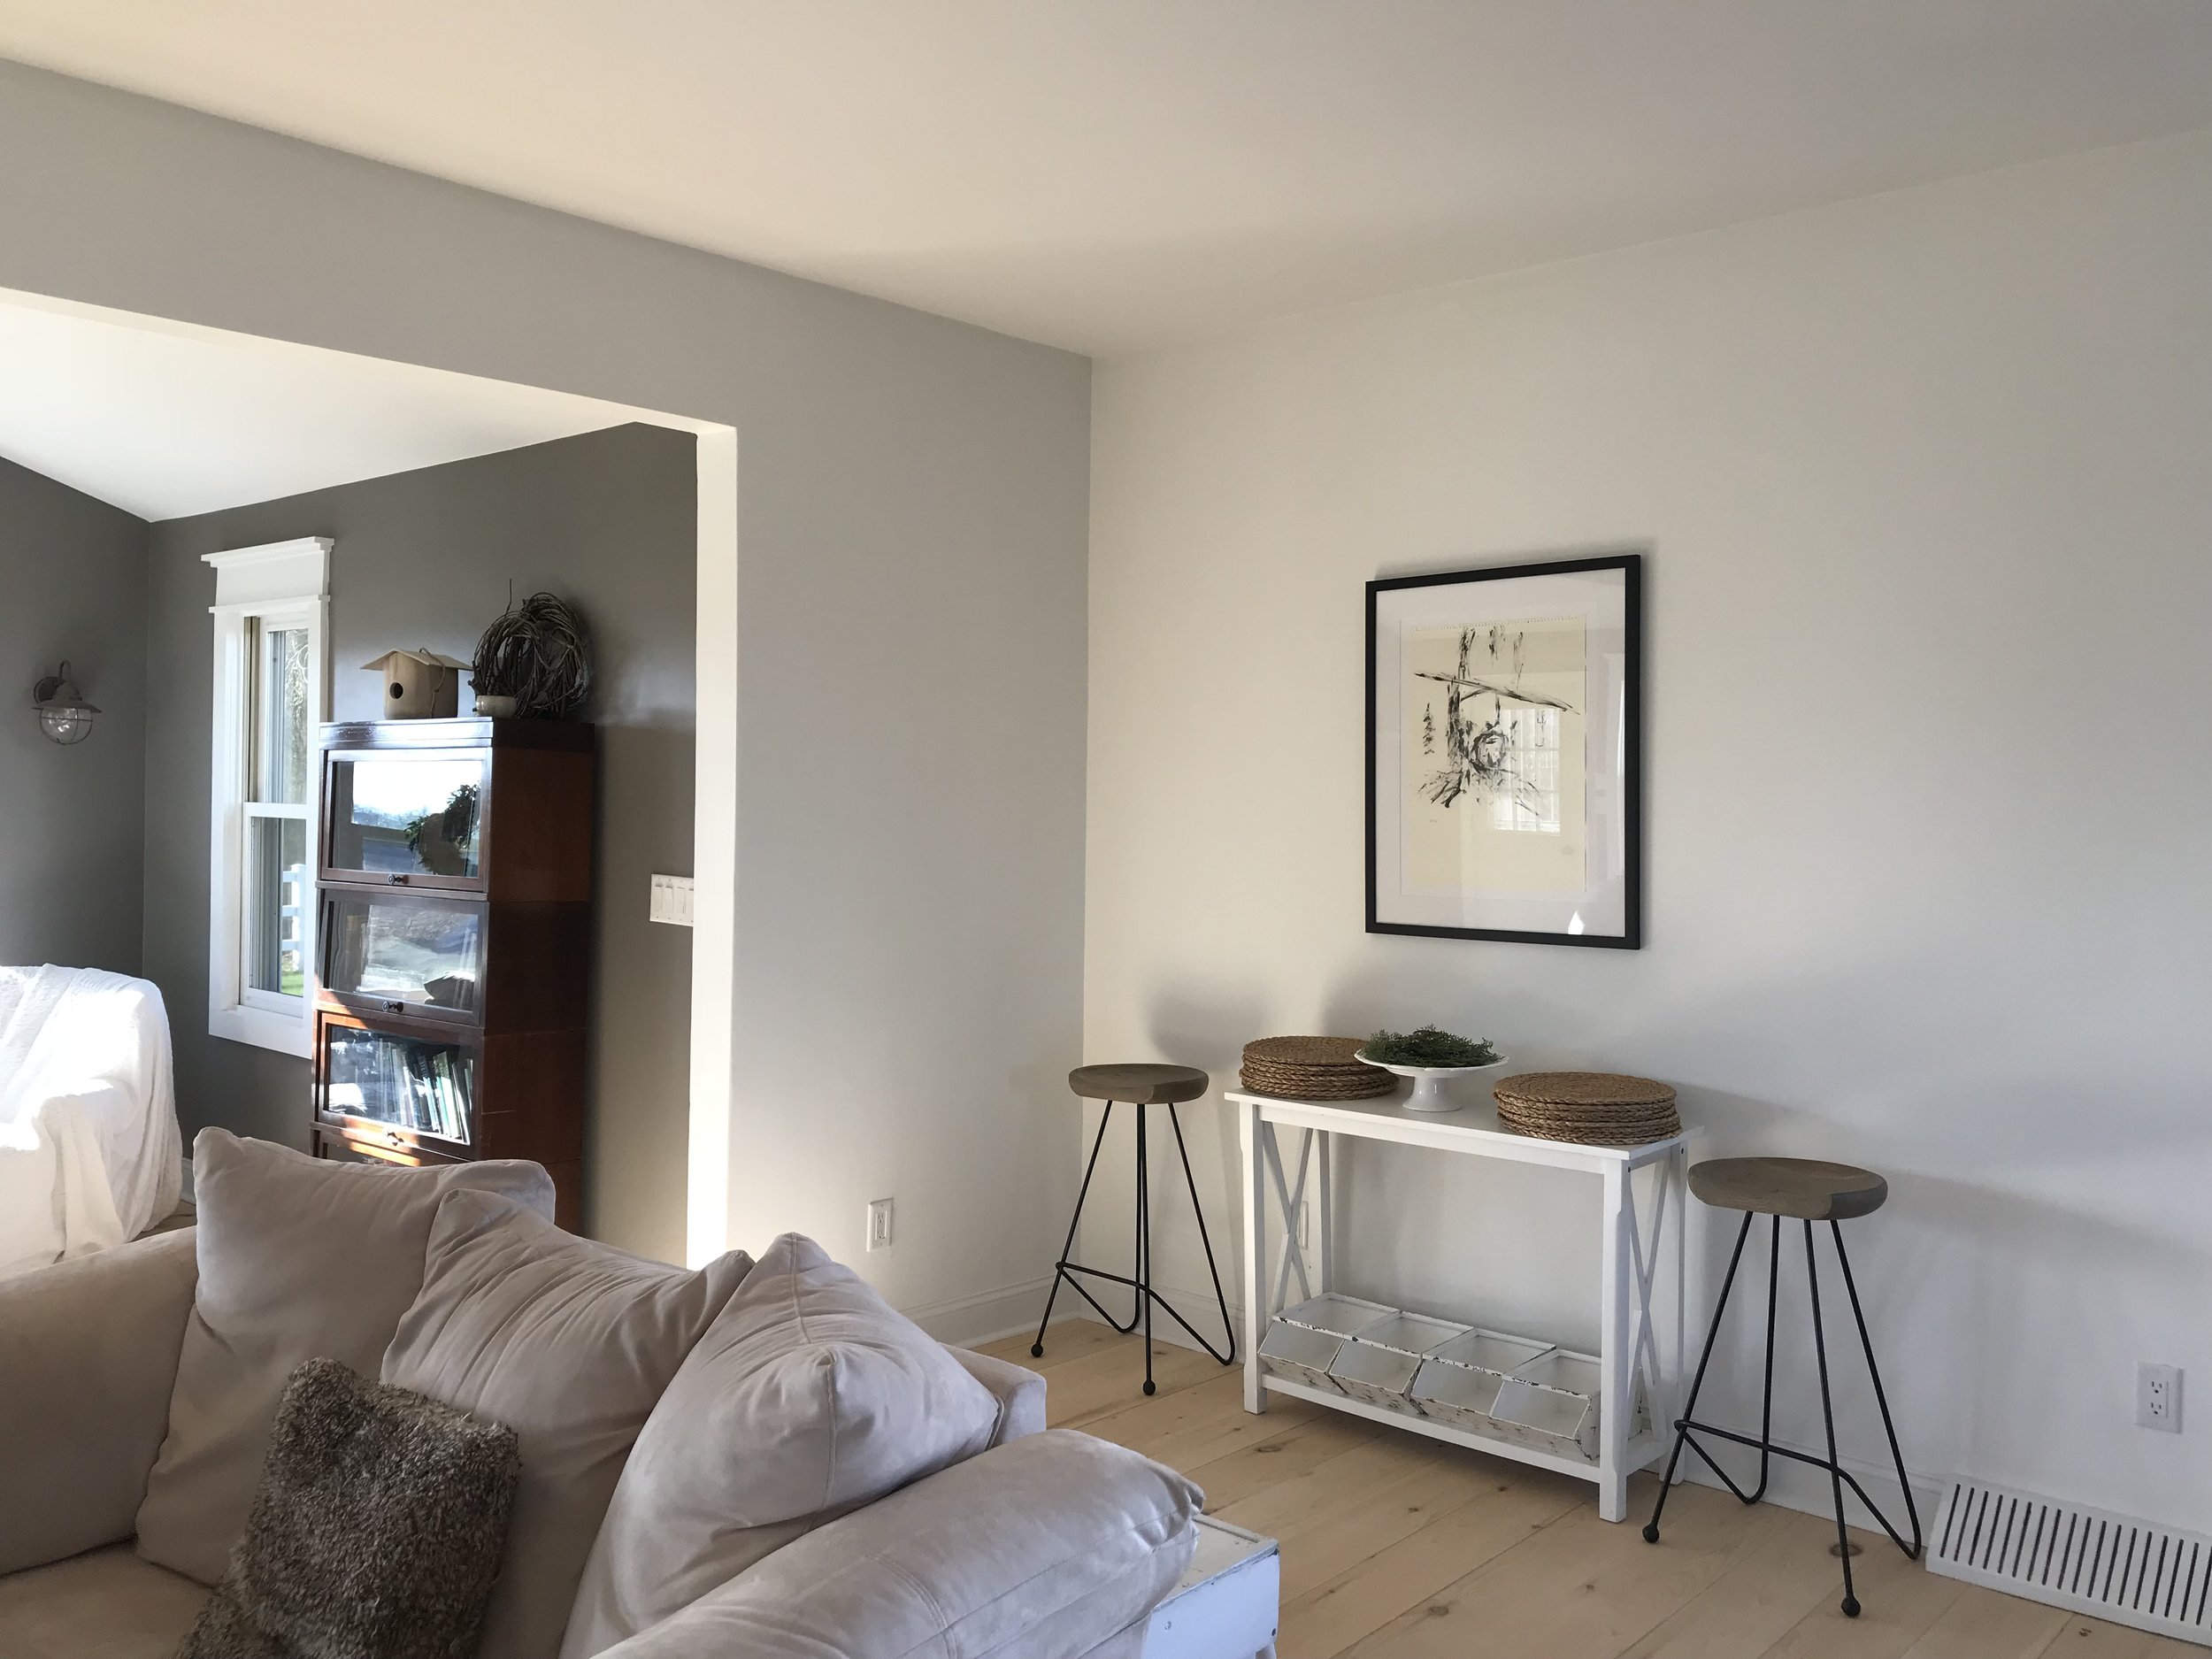
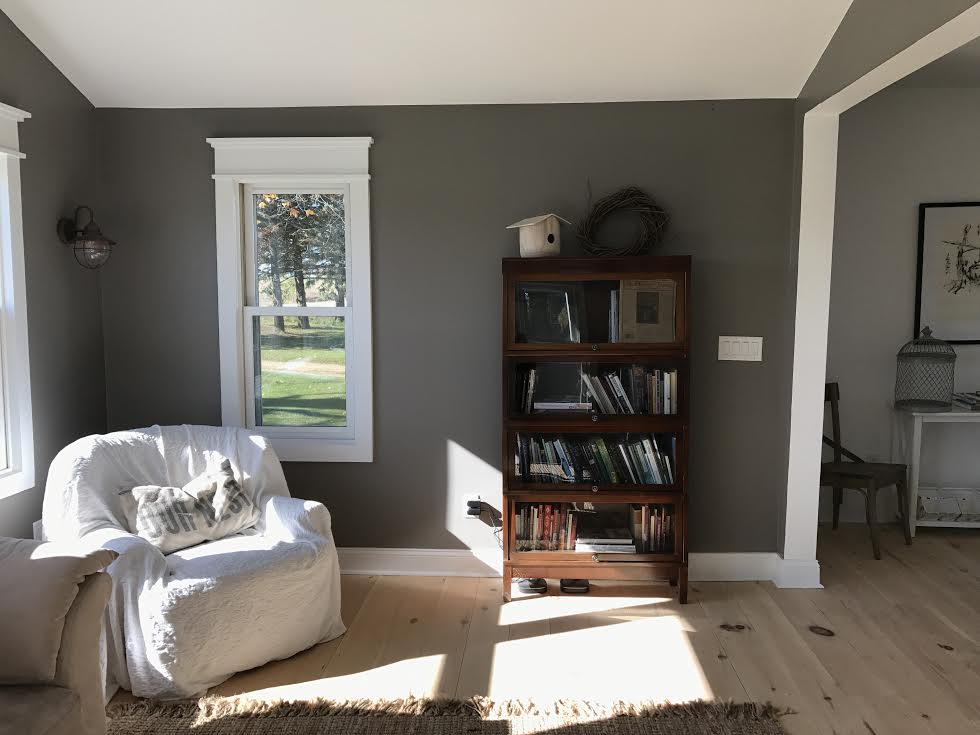
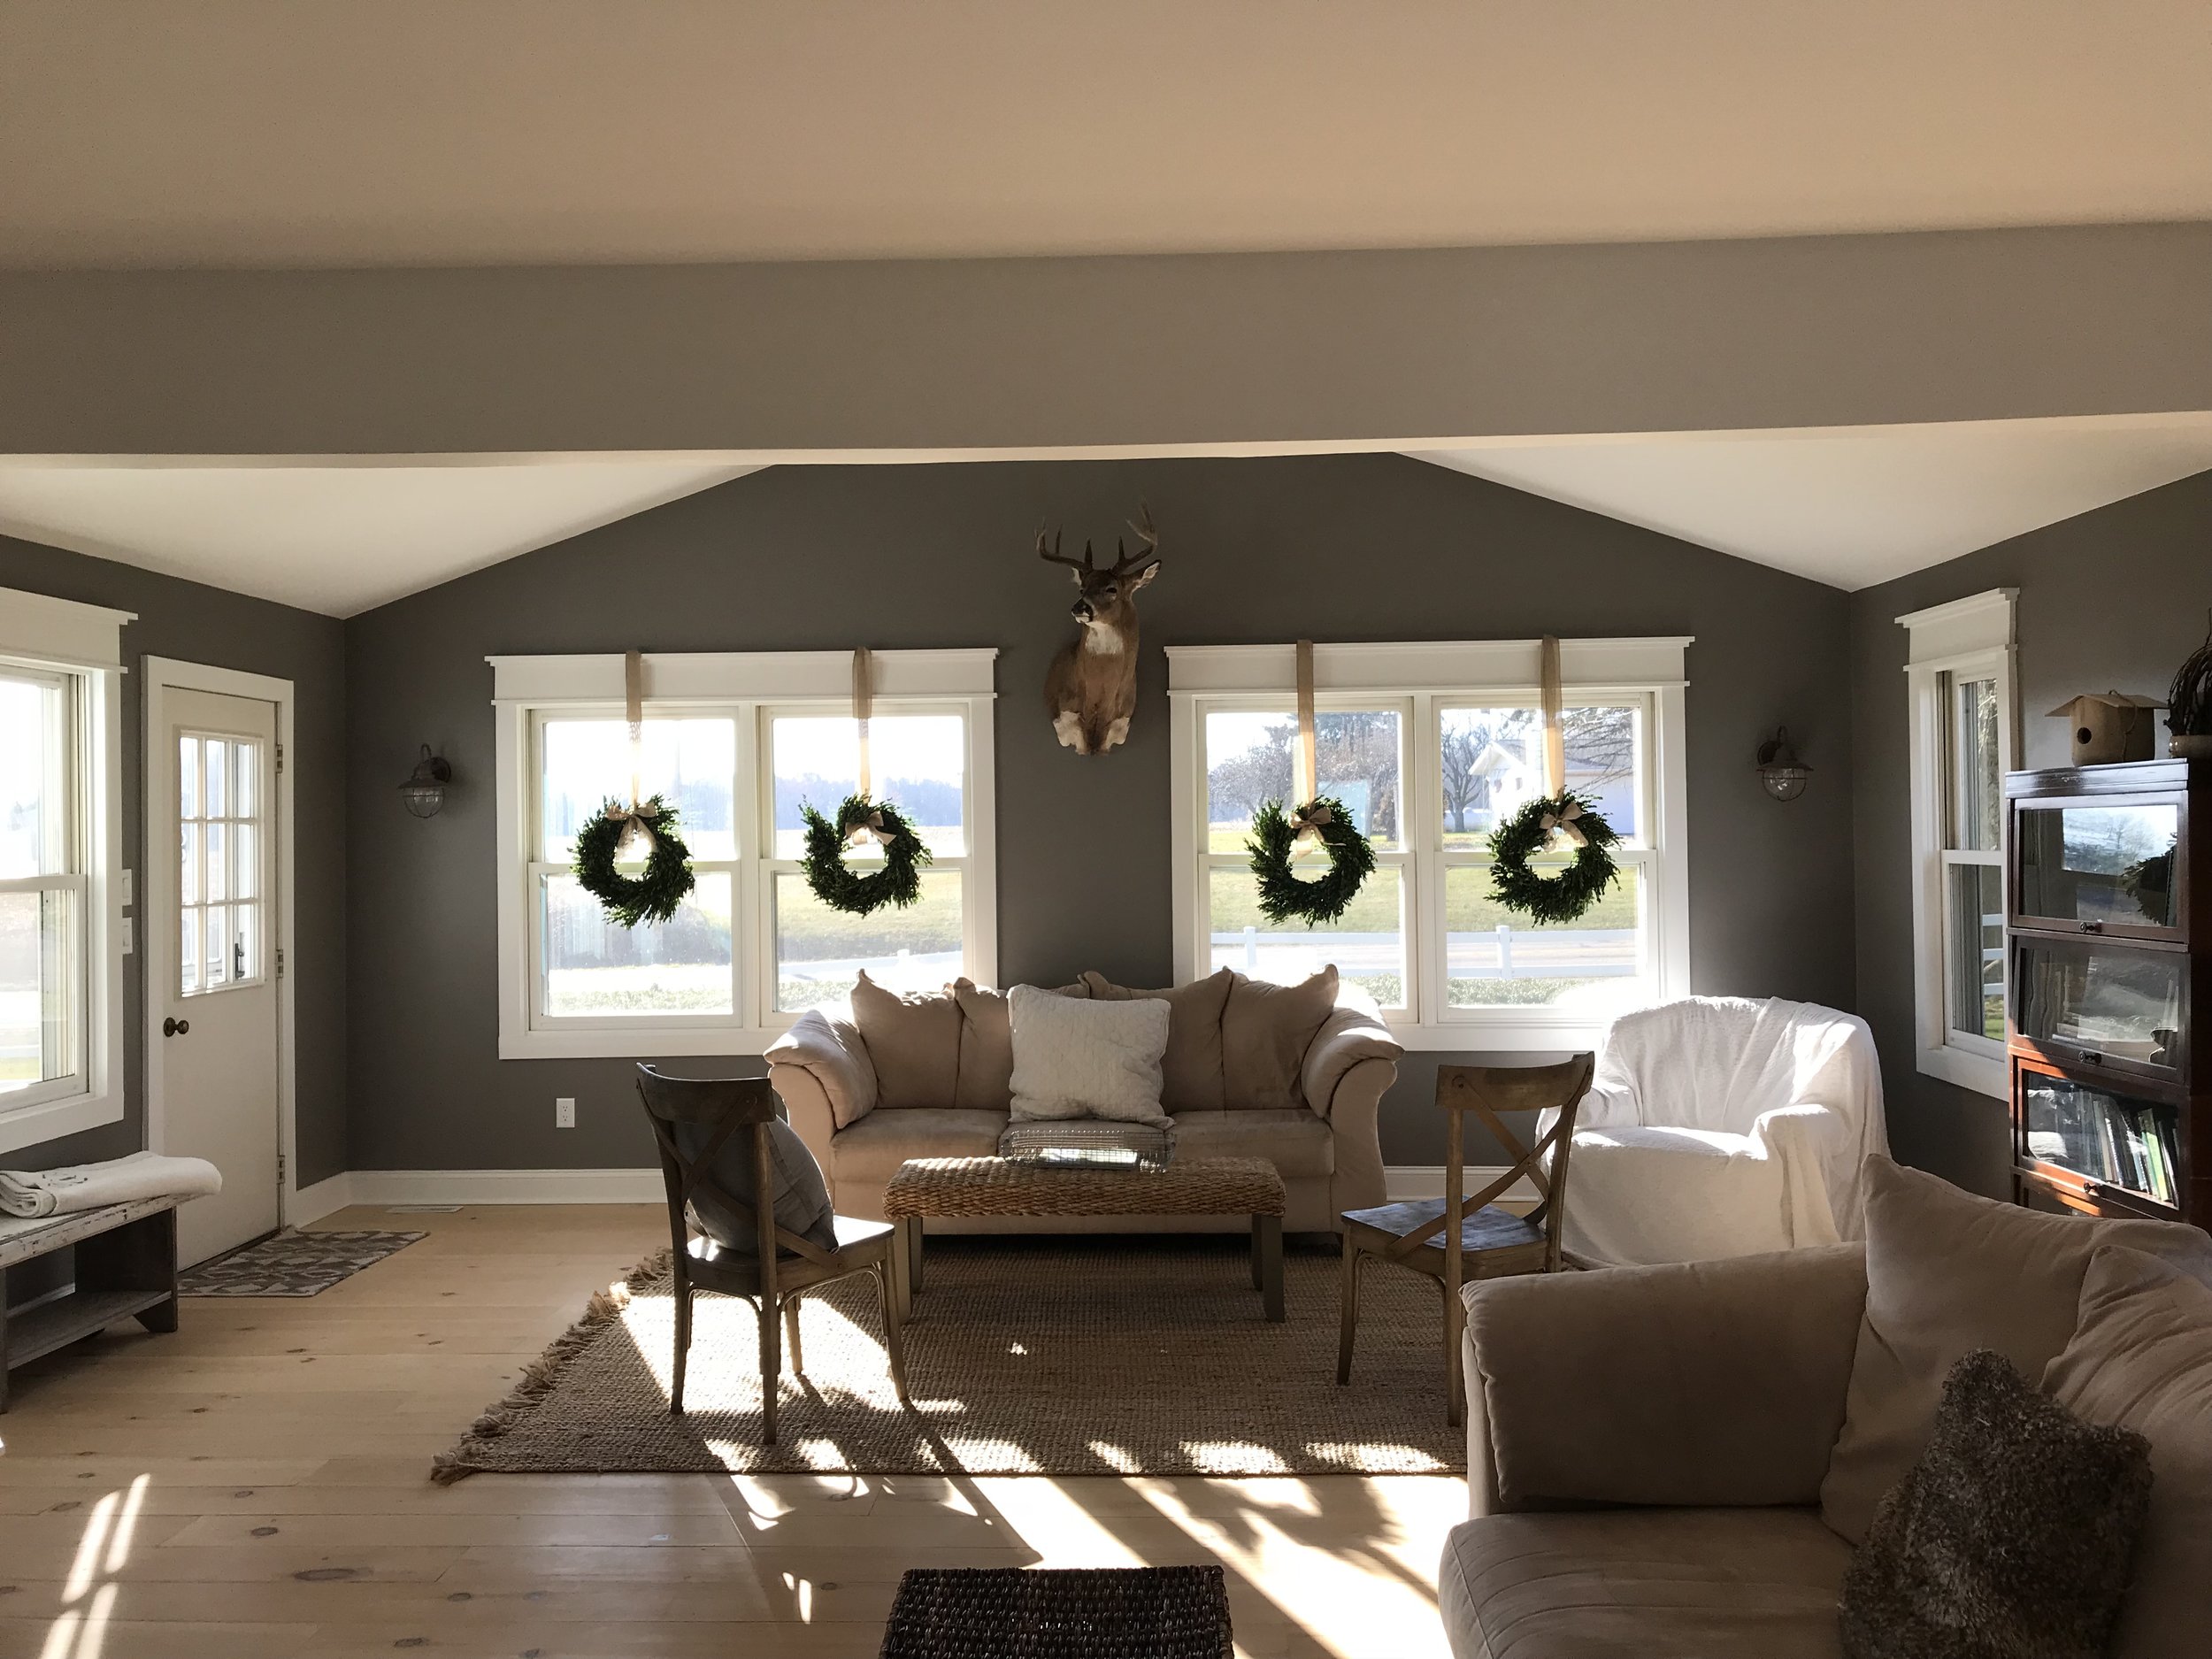
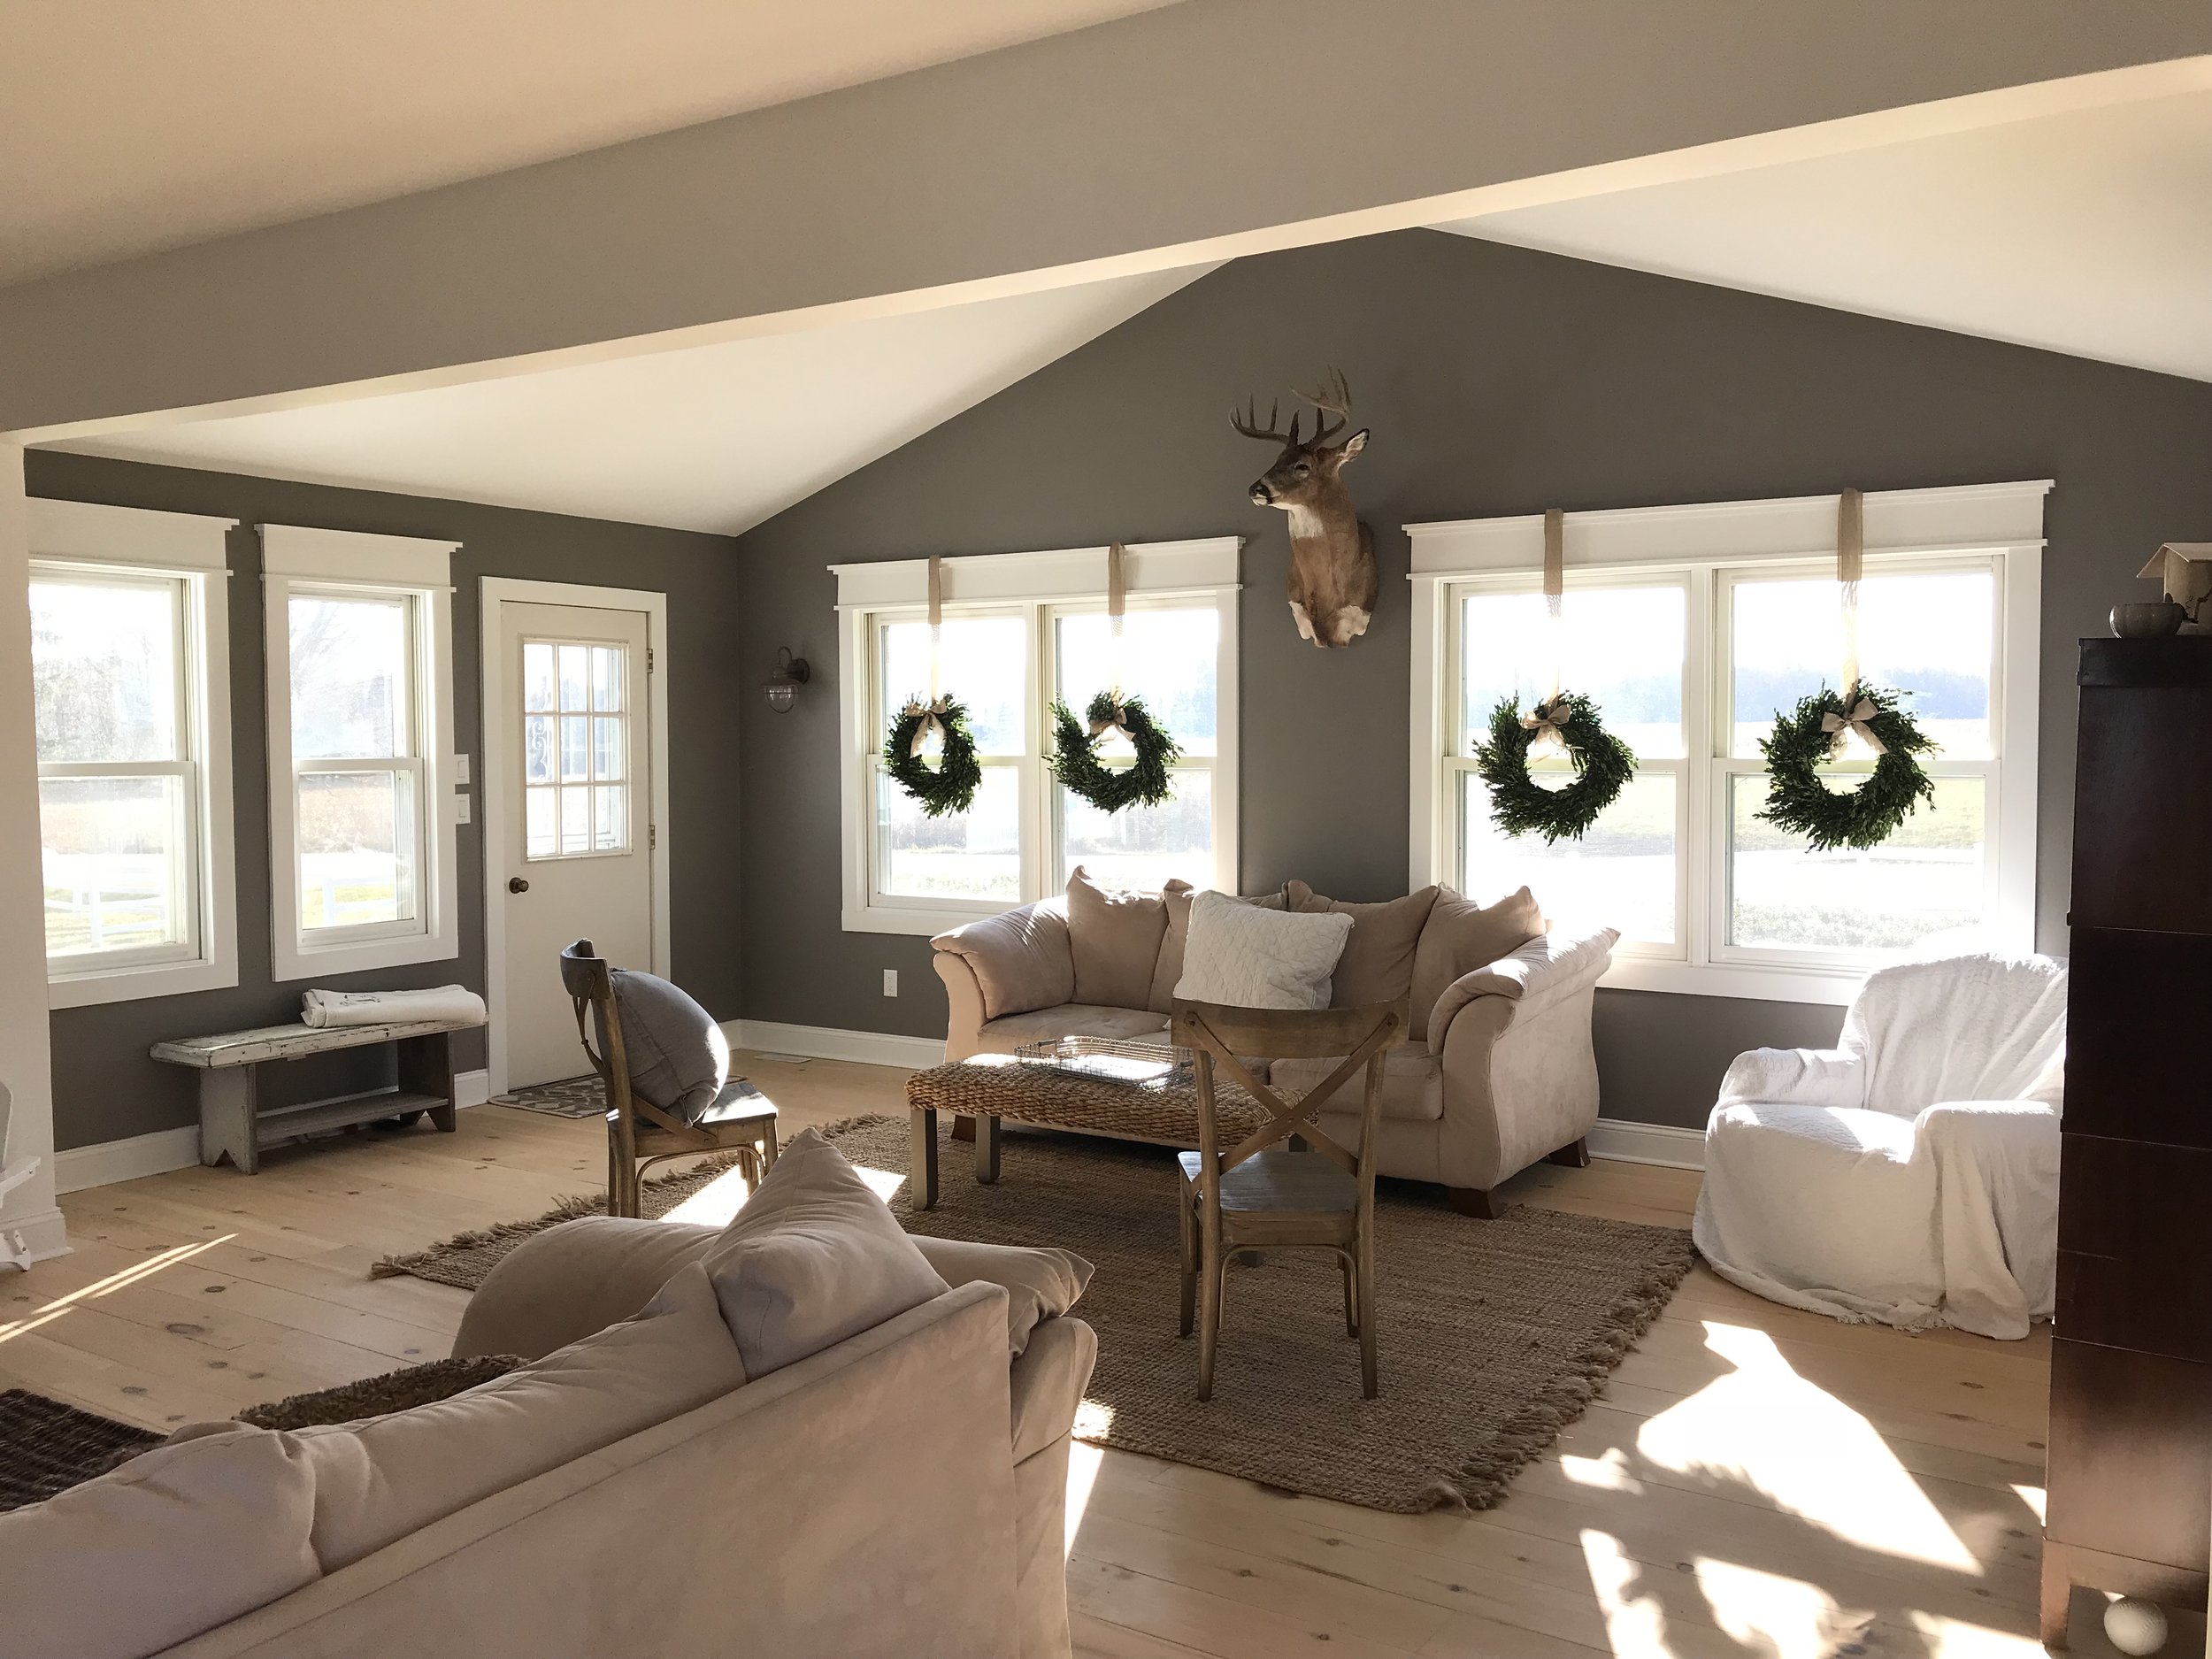
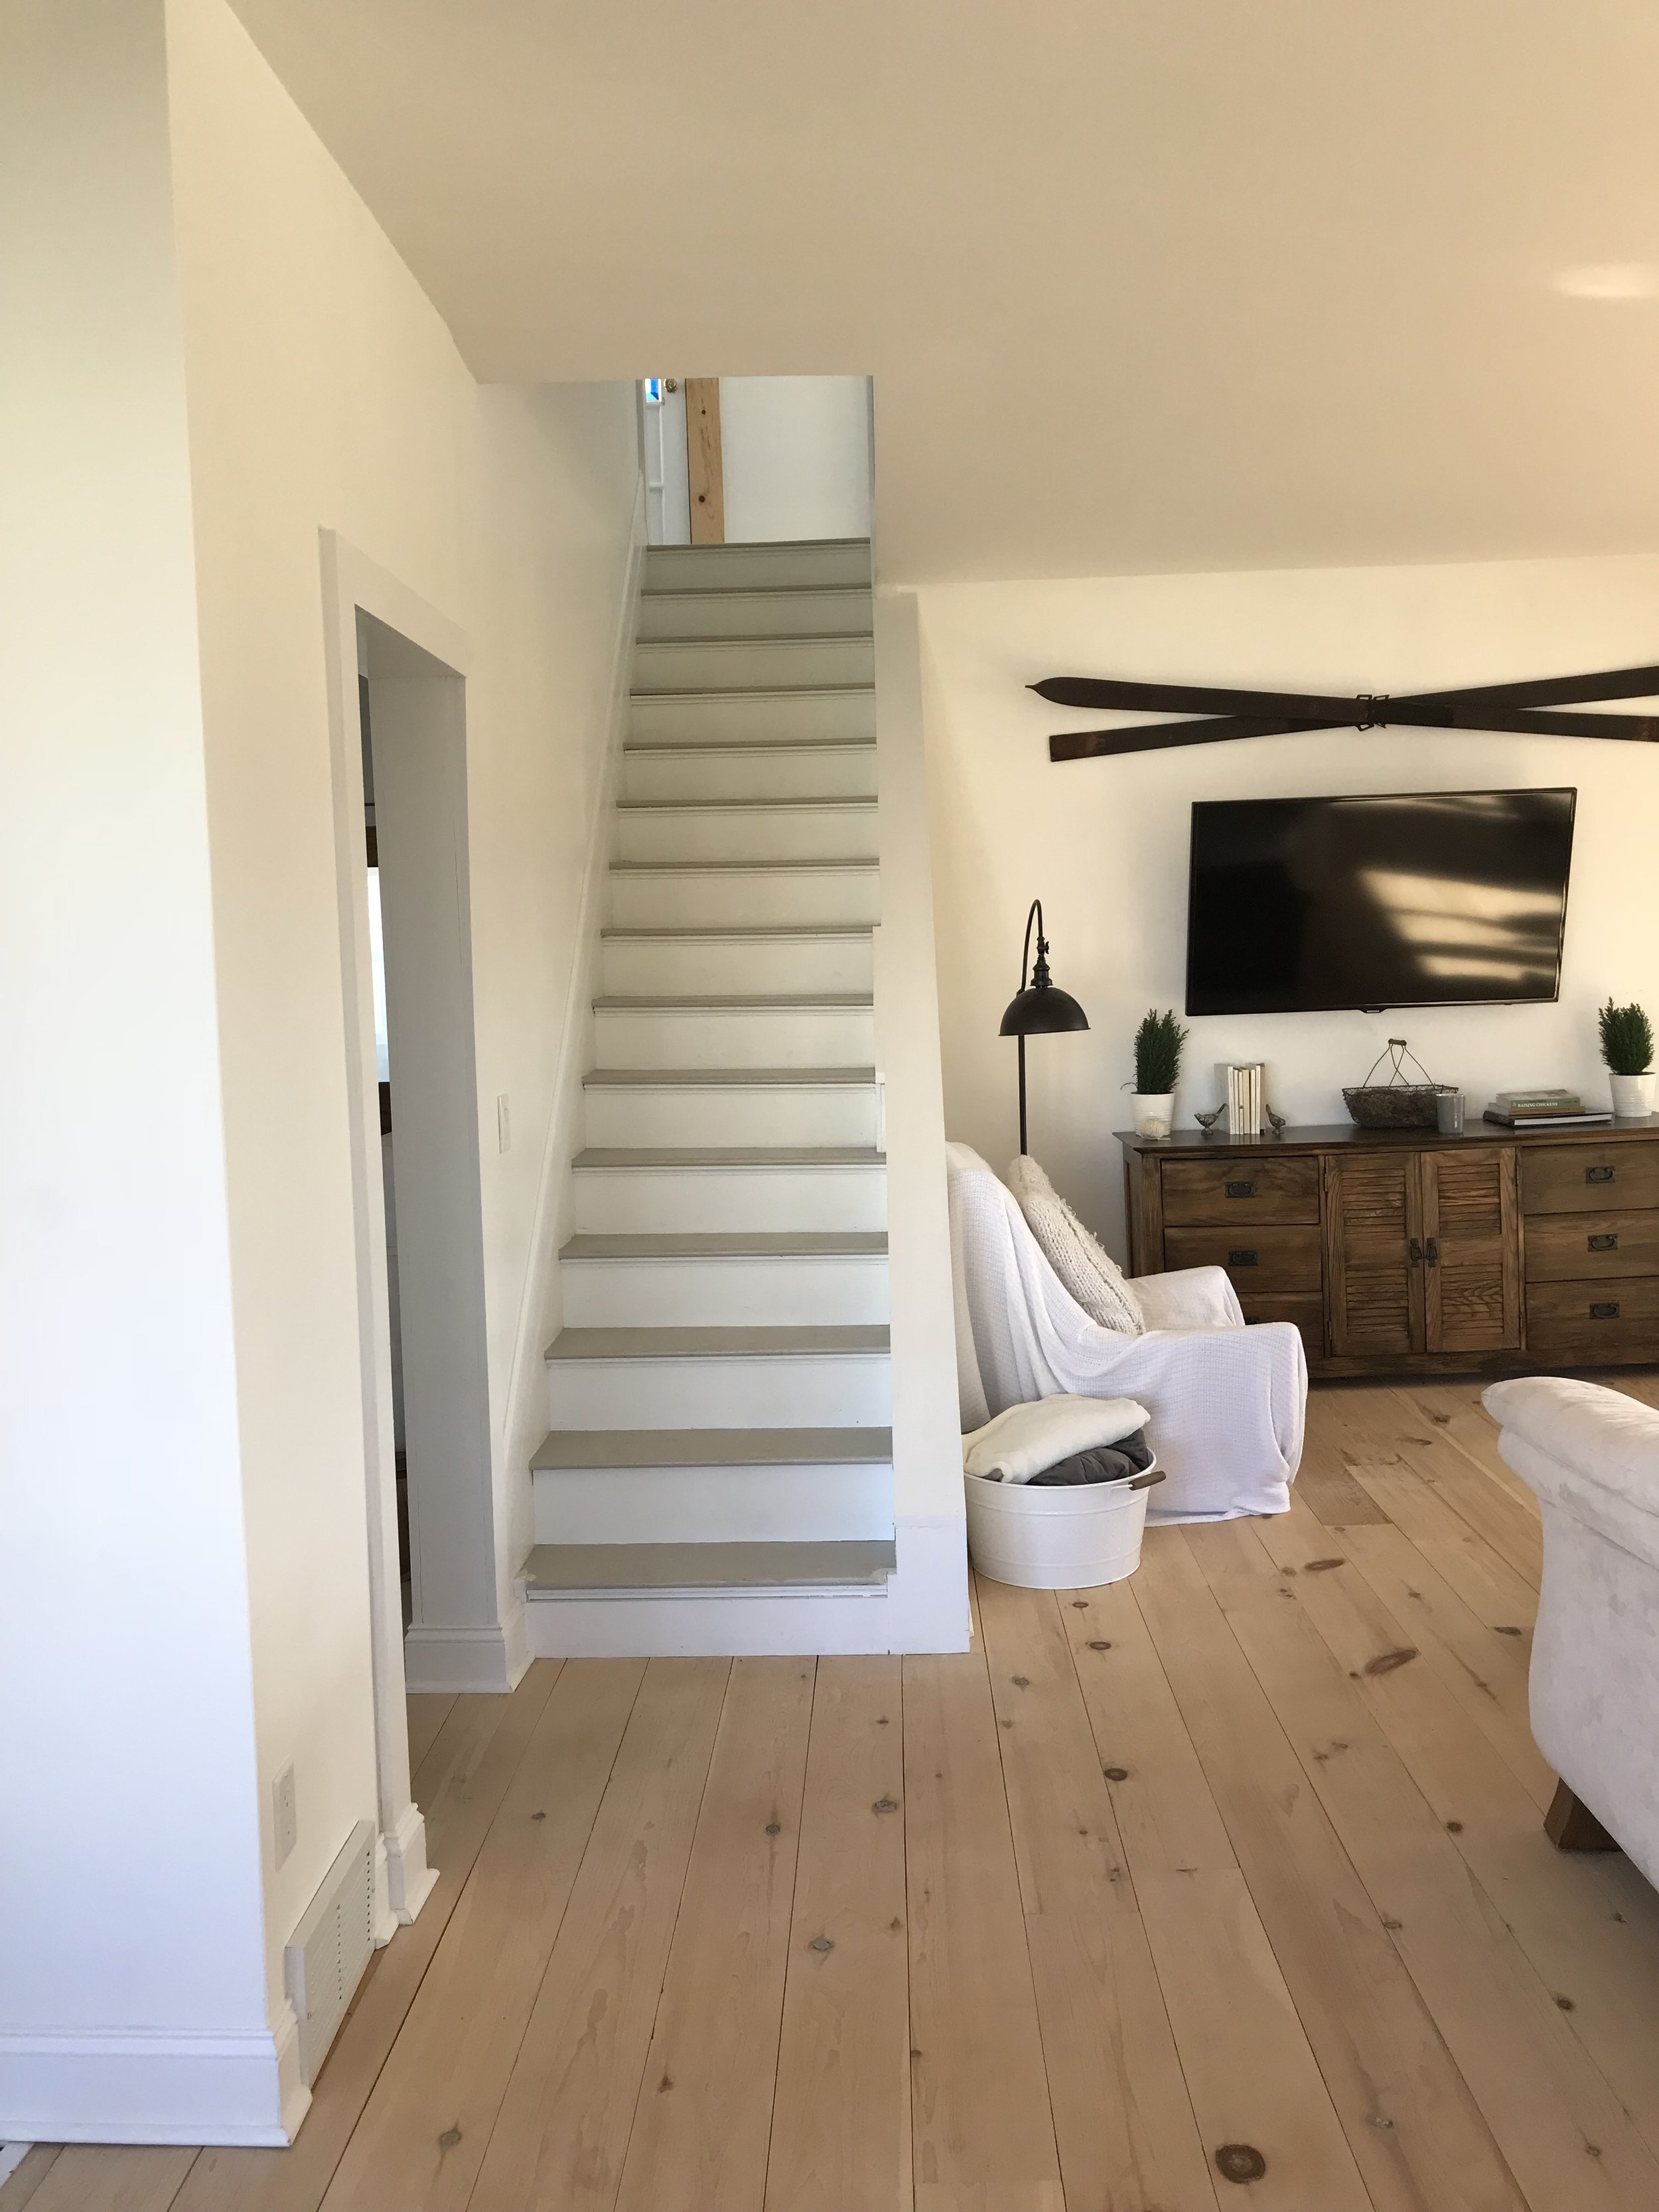
Front Rooms

  • Closed doorway to bath
  • Opened stairwell
  • Removed faux brick tile
  • Removed faux wood beams
  • Closed off closet doorway
  • Painted
  • Skim coated existing plaster to remove texture
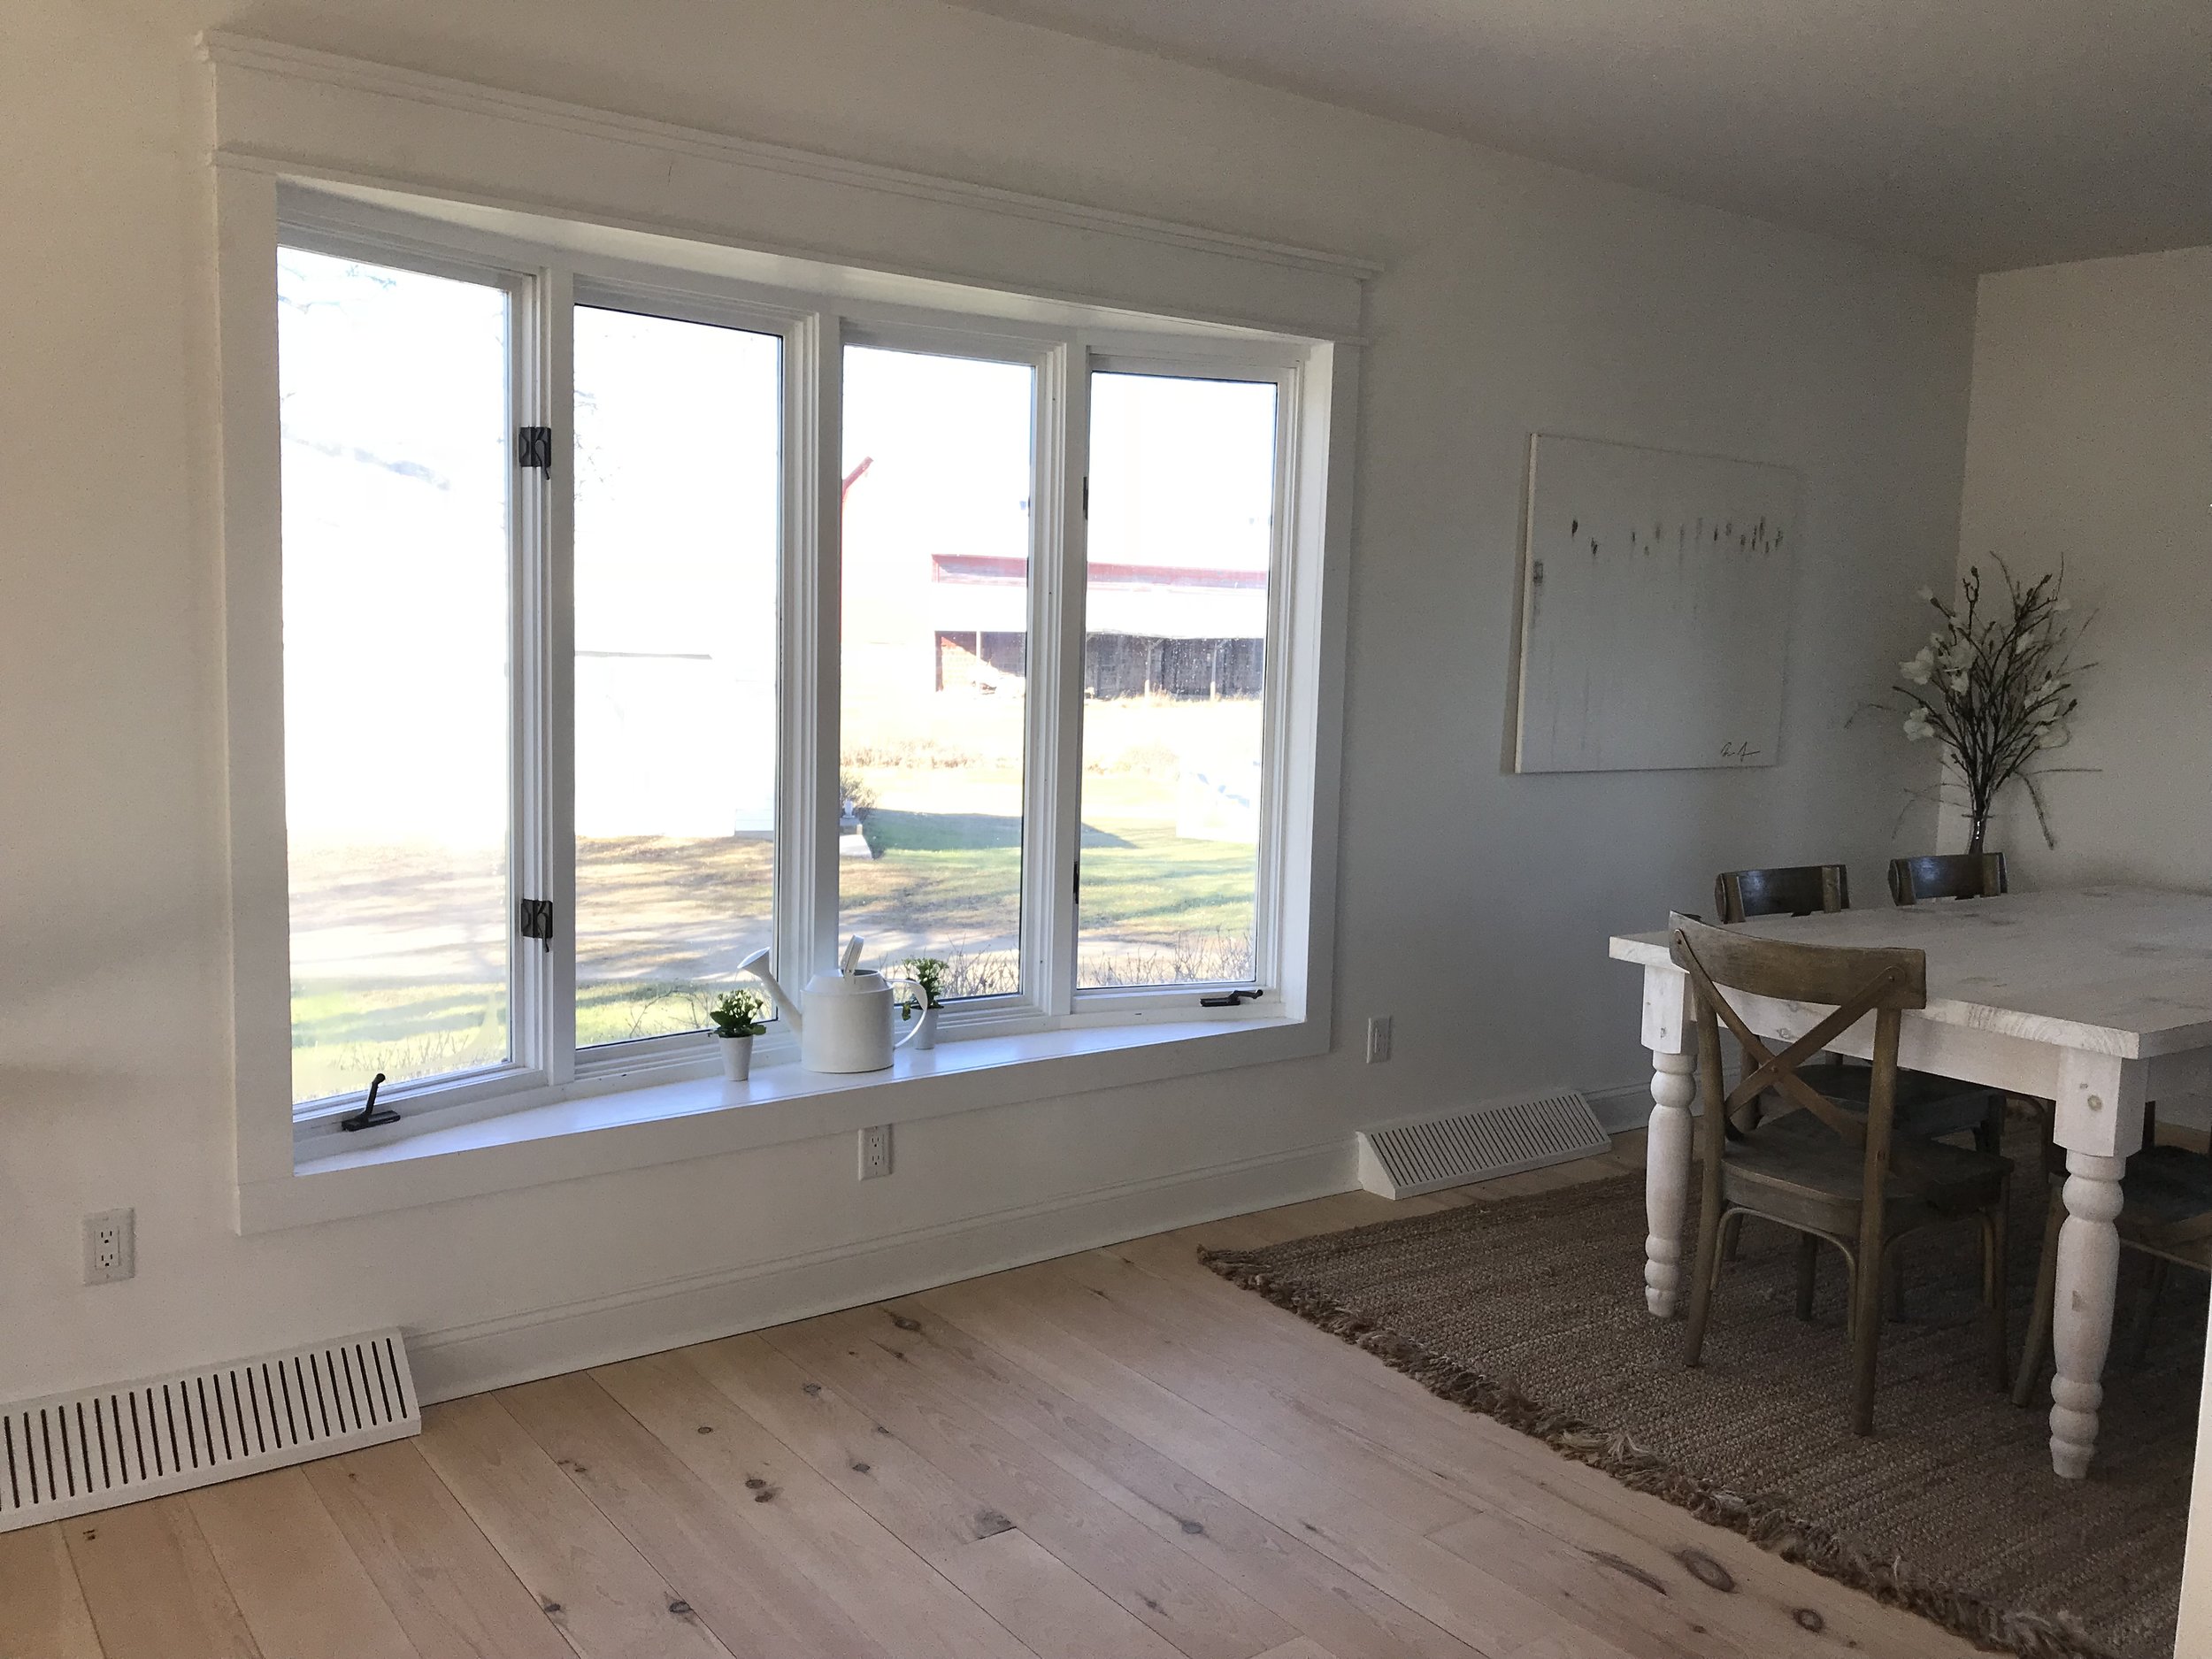
  • Updated trim for windows
  • Painted windows
  • Updated light Fixtures
  • Removed carpet
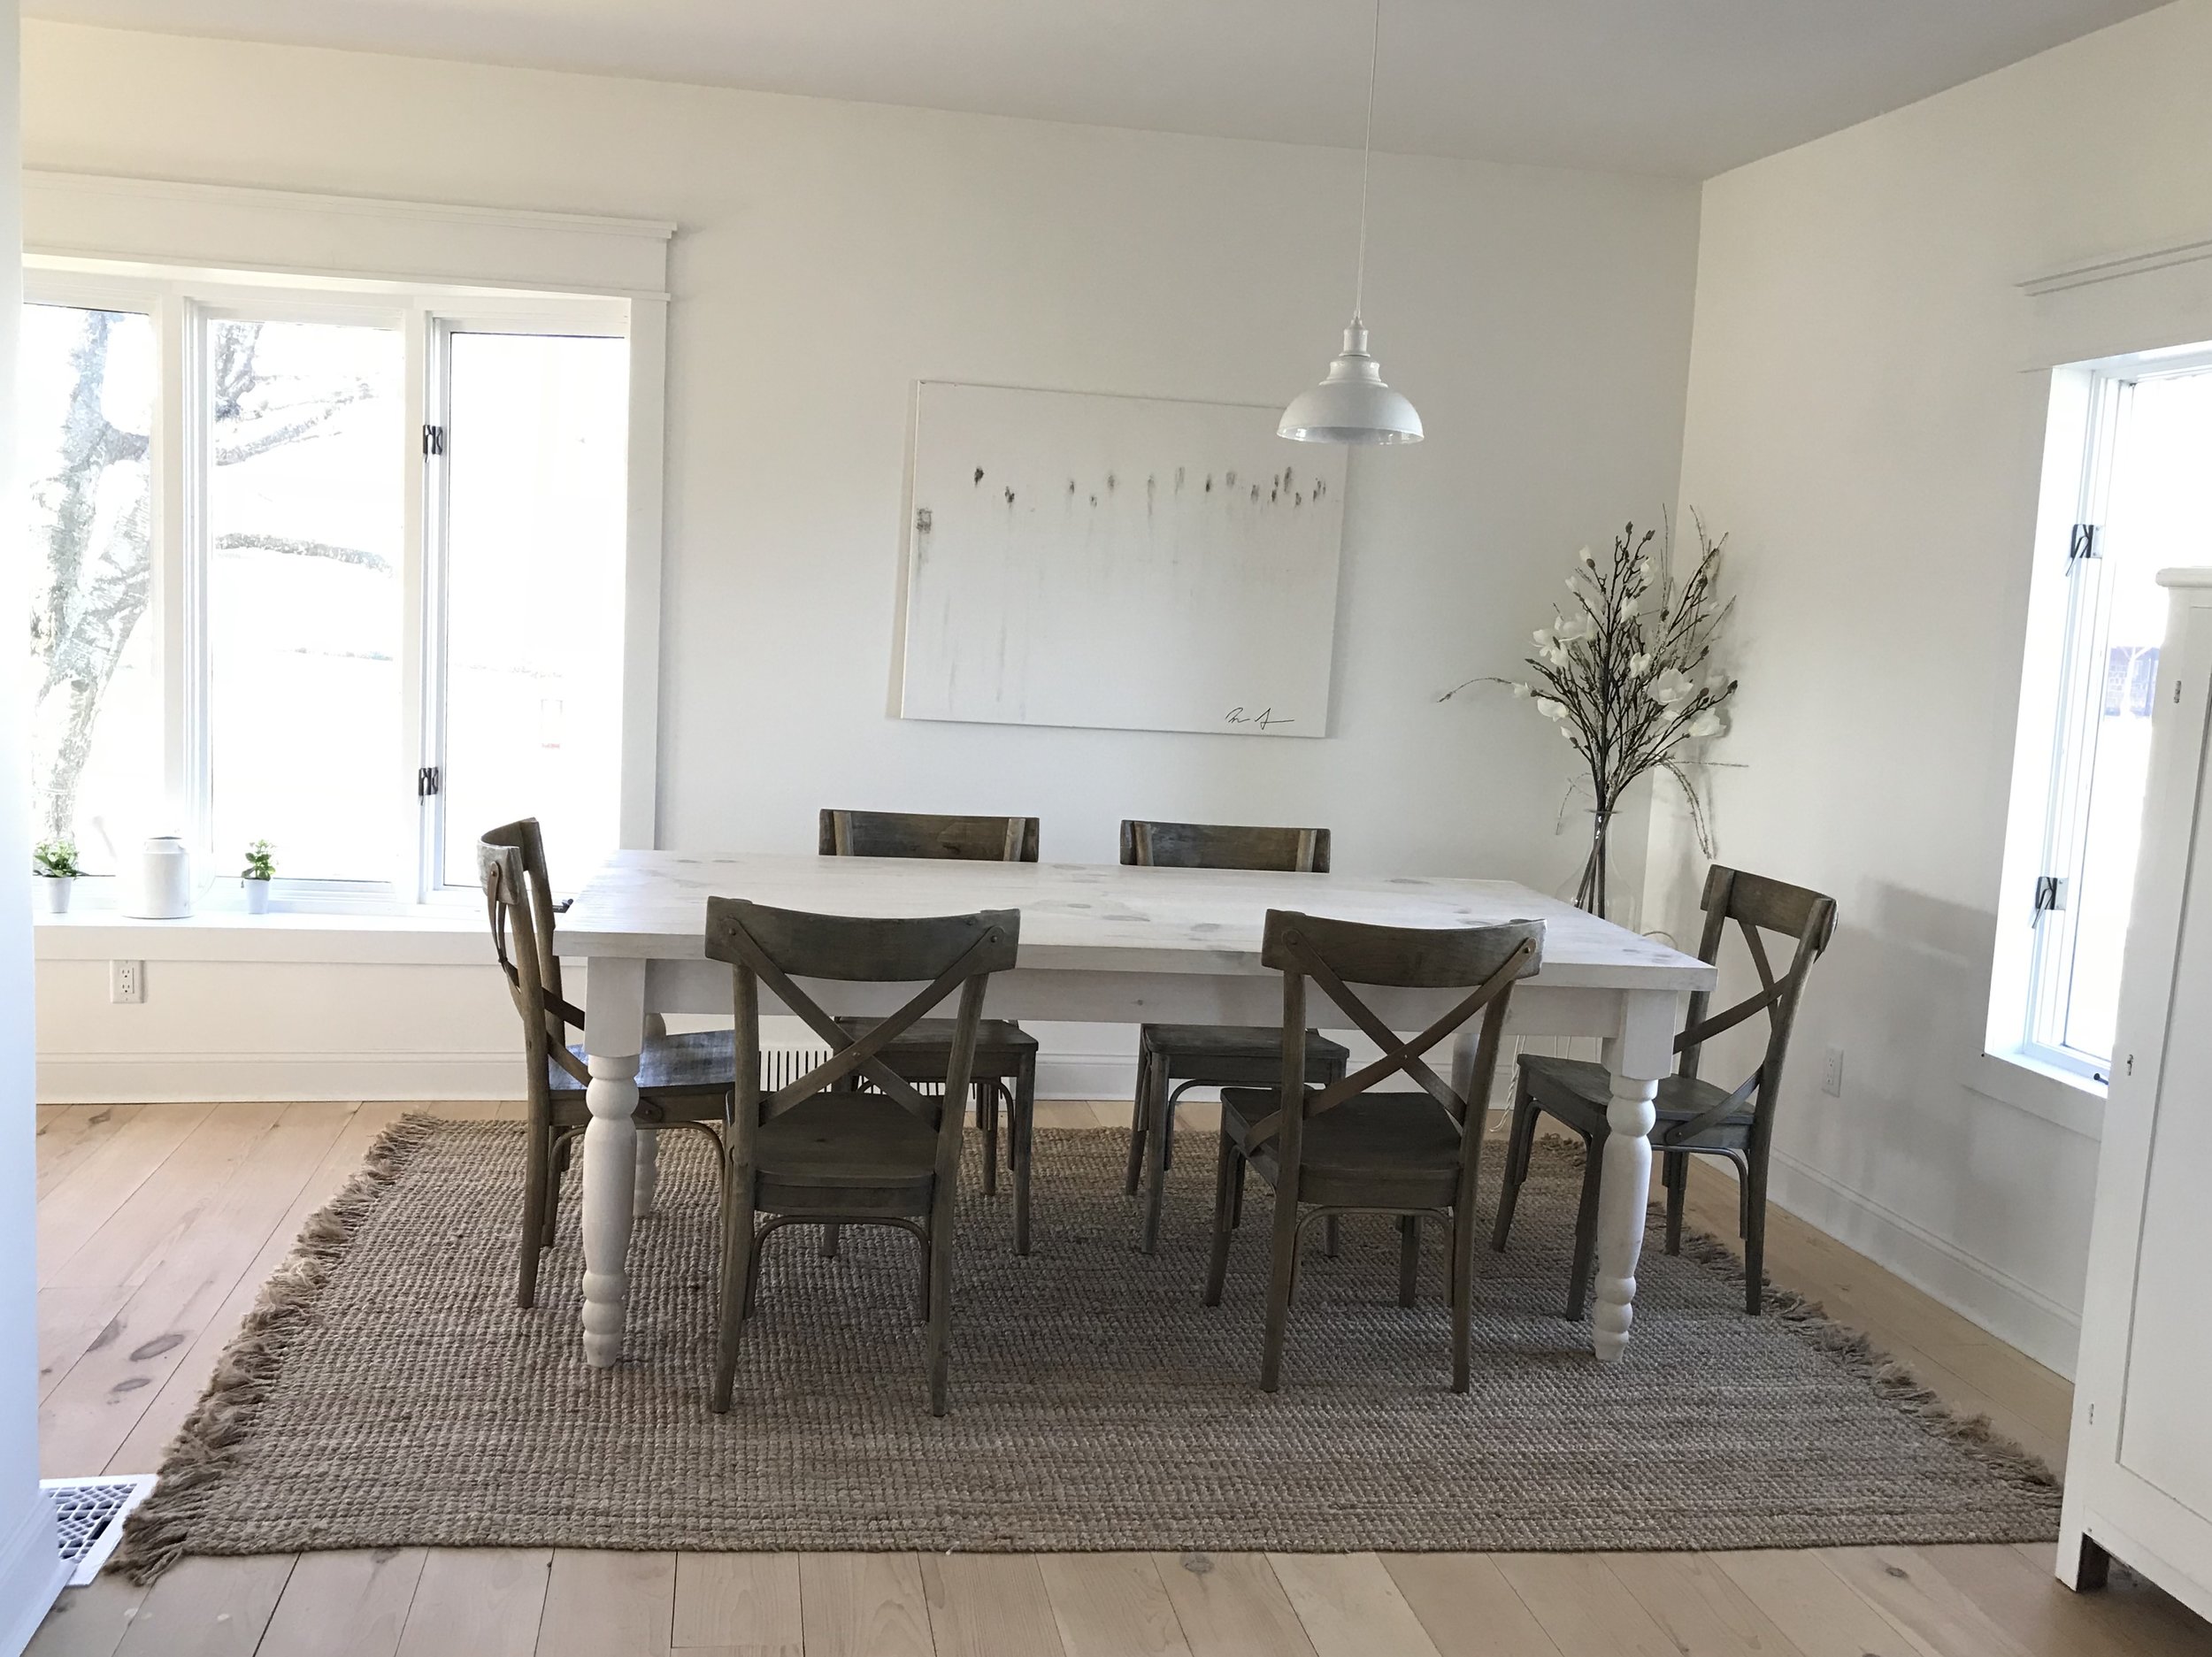
  • Installed wide-plank Flooring (from sawmill)
  • Made custom vent covers (due to non-standard sizing)
  • Updated baseboards


Kitchen

  • Installed wide-plank Flooring (from sawmill)
  • Removed upper cabinets
  • Painted lower cabinets
  • Made Custom wood countertops (from sawmill)
  • Relocated washer and dryer, removed cabinet and hookups
  • Updated appliances
  • Updated sink/faucets
  • Updated trim for windows
  • Painted windows
  • Installed antique door
  • ReFinished salvaged workshop bench for an island
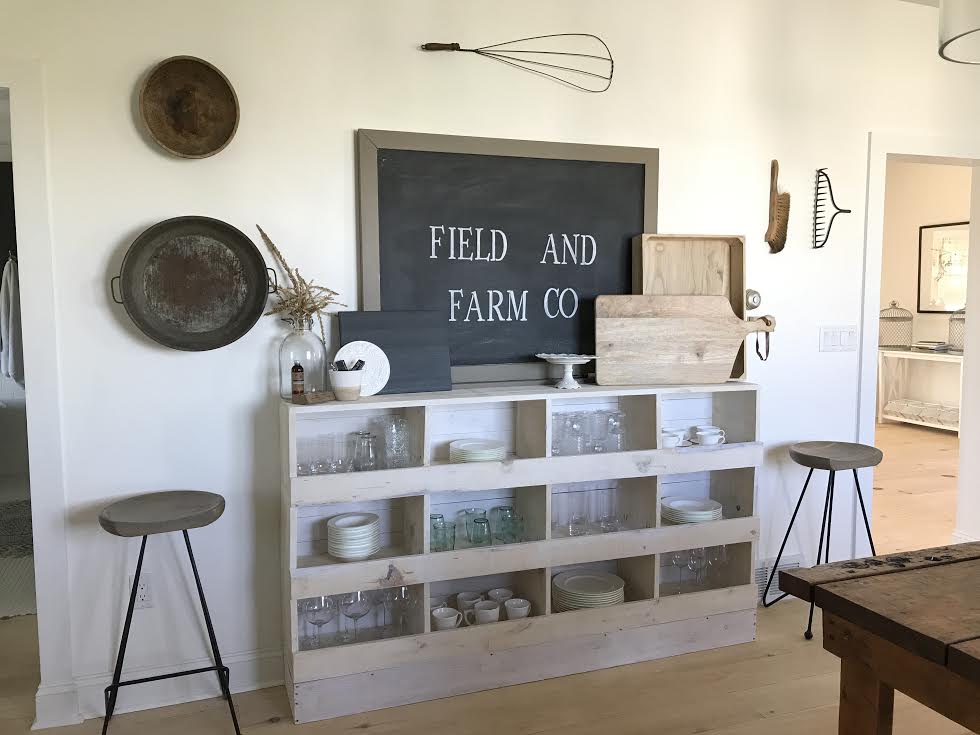
  • ReFinished salvaged jelly cabinet for storage
  • Custom hood for vent (A Friend Made this for us)
  • Updated light Fixtures
  • Added pendent lights over island
  • Updated baseboards


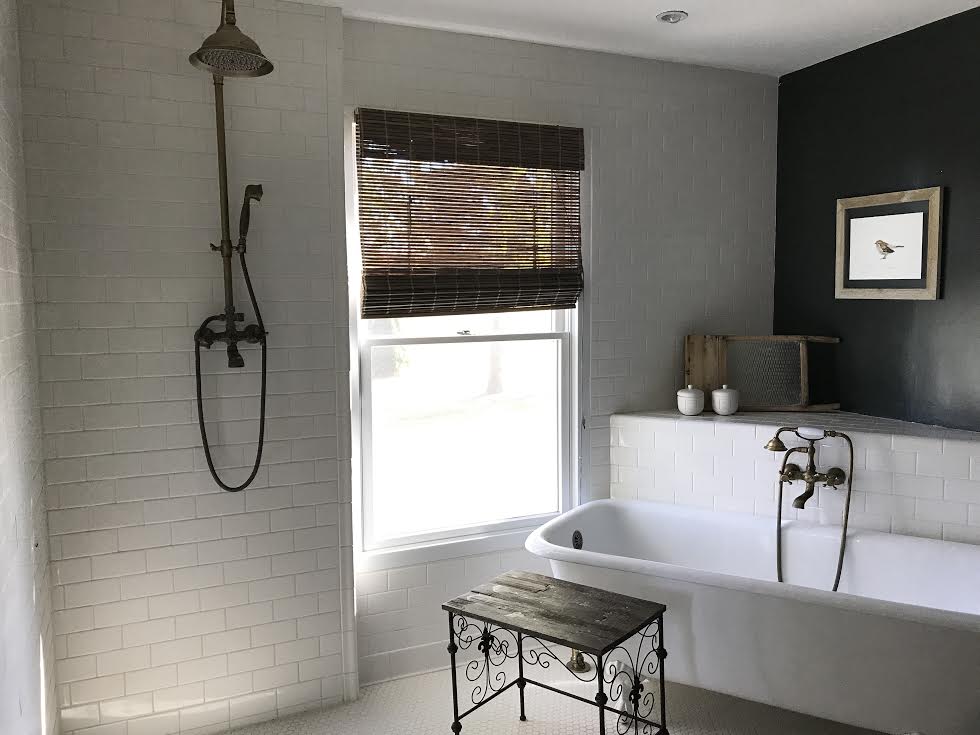
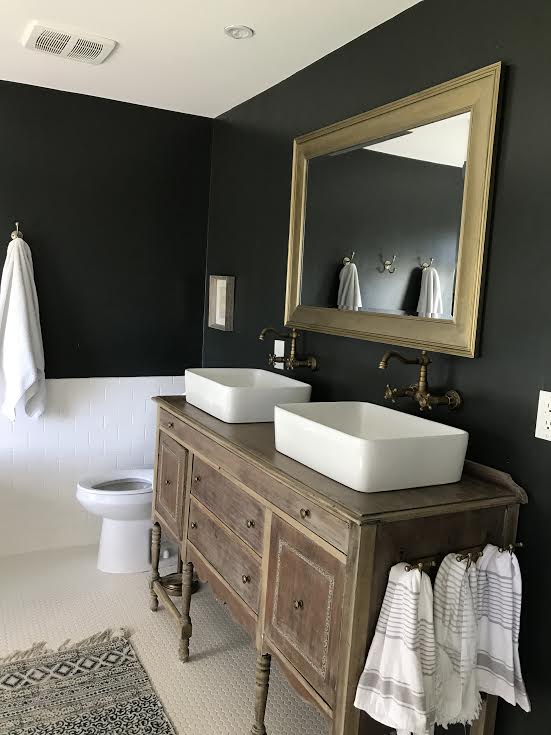
Bathroom

  • Demoed entire existing bathroom
  • Dropped sub-Flooring a few inches
  • Absorbed front room closet
  • Relocated cast iron pipe
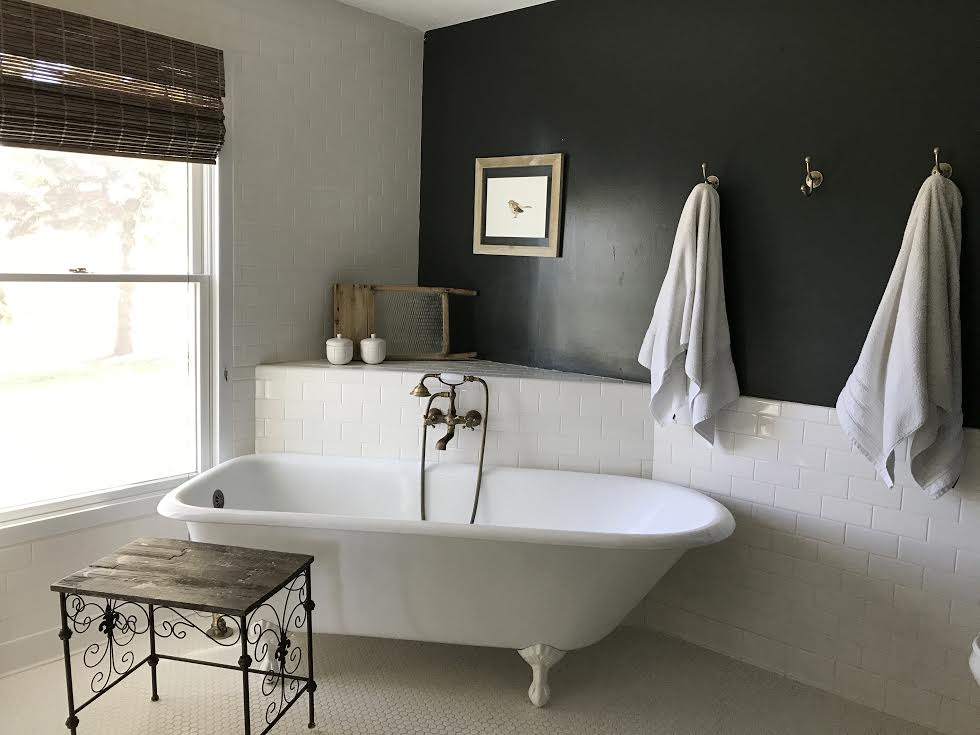
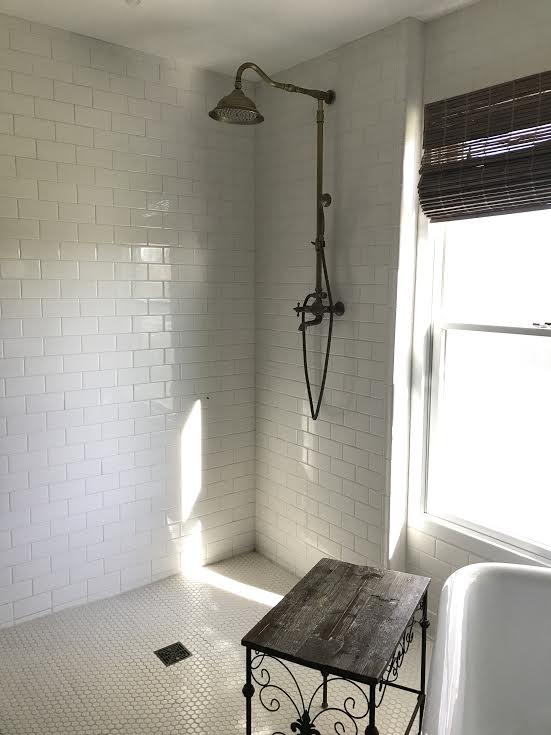
  • Added clawfoot tub
  • Added European open shower
  • ReFinished antique buffet as vanity
  • Updated Fixtures
  • Added canned recessed lighting
  • Plastered ceilings
  • Added sliding Five panel door
  • Added large window for more natural light
  • Updated baseboards


Mudroom

  • Installed wide-plank Flooring (from sawmill)
  • Relocated washer and dryer
  • Painted


Bedrooms

  • Removed carpet
  • Sanded and painted original wide-plank Floors
  • Removed faux wood paneling
  • Added drywall for walls/ceiling
  • Updated trim for windows (in progress)
  • Painted windows (in progress)
  • Painted original doors
  • Custom shelving in closets


Many lessons, tough conversations, and years later, this is where we stand. The second Floor still needs trim work for the doorways/windows/baseboards, as well as crown molding and vent covers, but the major components are complete.


I'll leave all the exterior work for a separate post!


-Meghan